Pretty Links is available in 40+ languages, including the major European, Asian, and Latin American languages. The interface follows your WordPress site’s language setting automatically — no extra configuration required.
How Language Selection Works
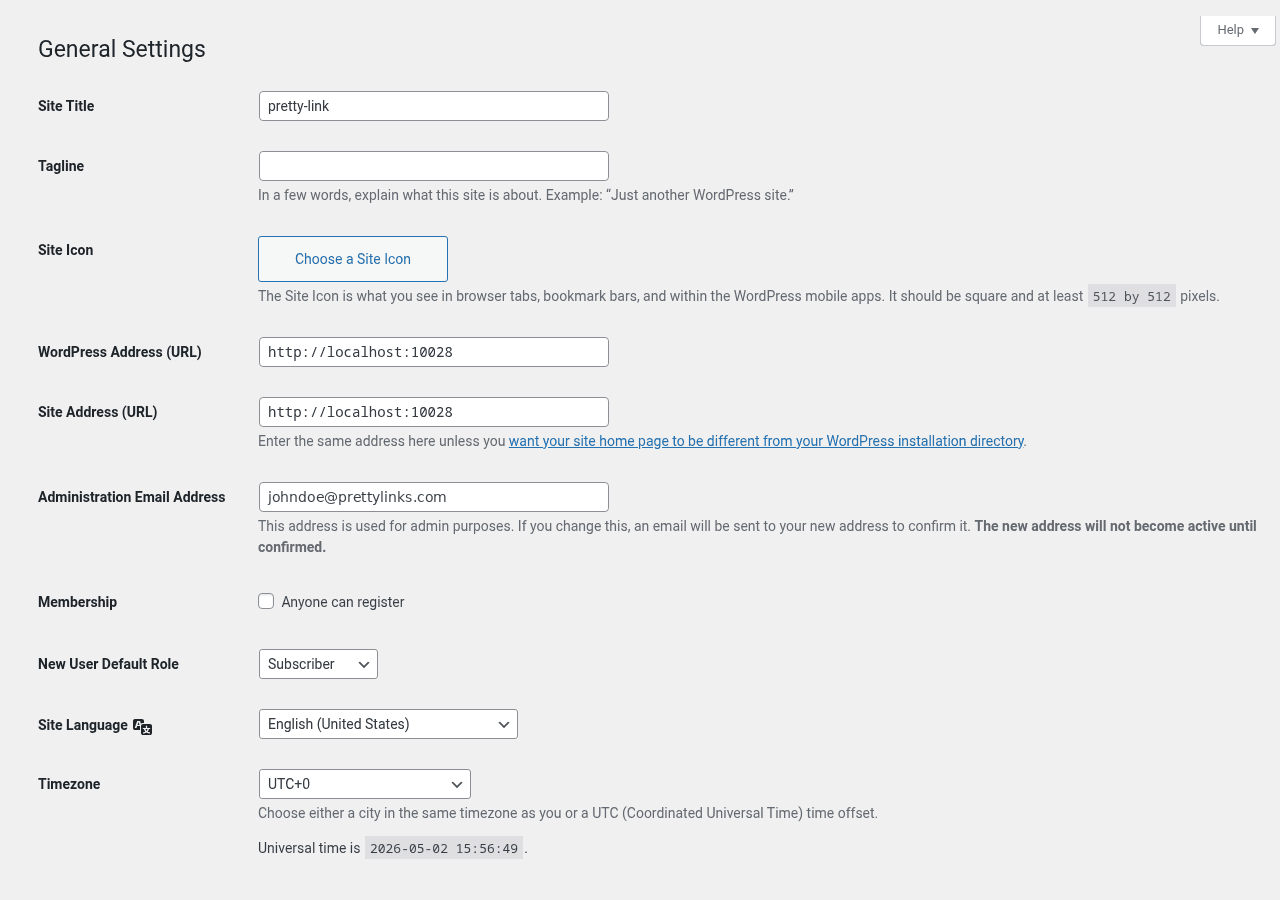
Pretty Links honors your WordPress site language, set at Dashboard > Settings > General > Site Language in the WordPress admin.
When you (or any admin user) load a Pretty Links screen:
- WordPress determines the appropriate language based on your site setting and the user’s personal language preference.
- Pretty Links loads its translation file for that language.
- The interface — menus, labels, buttons, help text, error messages — appears in that language.
This works for both site-wide language and per-user language preference (set on each user’s profile page in WordPress).
Per-User vs. Site-Wide Language
WordPress lets each user pick their own admin language at Dashboard > Users > Your Profile > Language. This overrides the site-wide setting just for that user.
That means a multilingual team can each see Pretty Links in their preferred language without changing the site language for everyone else. For example:
- Your French content manager sees Pretty Links in French;
- Your Spanish marketer sees it in Spanish;
- Your default site language can stay in English.
Pretty Links picks up these preferences automatically.
Front-End Translations
The translations cover not only the admin interface but also user-facing strings — things like:
- The Pretty Bar close button label;
- Public link creation form labels and messages;
- Social button tooltips;
- Cloak fallback messages.
These appear in the visitor’s experience based on your site’s front-end language.
What if My Language Isn’t Included?
The 40+ included languages cover most of the world’s major languages, but it’s possible yours isn’t represented — or that the existing translation is outdated or has gaps.
You have a few options:
1. Contribute Translations on translate.wordpress.org
Pretty Links uses WordPress.org’s official translation platform, translate.wordpress.org (sometimes called GlotPress). Anyone can contribute:
- Visit translate.wordpress.org and find the Pretty Links project.
- Pick your language.
- Suggest translations for untranslated or fuzzy strings.
- Project Translation Editors review and approve suggestions.
- Approved translations ship in the next release of Pretty Links.
Contributing translations is a great way to give back to the community — and it benefits every Pretty Links user who speaks your language.
2. Become a Translation Editor
If you’ve contributed quality translations, you can apply to become a Project Translation Editor (PTE) for Pretty Links in your language. PTEs can approve their own translations directly, dramatically speeding up the process.
Apply via the WordPress.org polyglots team — they have a documented process for promoting active translators.
3. Use a Translation Plugin
If you don’t want to wait for upstream translations, you can use a plugin like Loco Translate or WPML’s translation tools to override Pretty Links’ strings on your specific site. This gives you immediate, local-only translations that don’t get shipped to other users.
Pretty Links ships its translation template (POT) at /languages/pretty-link.pot inside the plugin folder — point Loco at it (or open it directly in Poedit) as the starting point for a custom locale. Pro extends the same workflow with a separate pretty-link-pro text domain and its own bundled POT under /pro/languages/pretty-link-pro.pot.
This is the right path for very domain-specific terminology that only makes sense on your site.
How Translations Are Loaded
Translation files (.mo files) for Pretty Links are loaded automatically based on your WordPress language setting. They’re typically delivered:
- Via WordPress.org — Bundled with the main plugin distribution;
- Via update notifications — When new translations are approved upstream, your site picks them up via the standard WordPress translation update mechanism (usually within a few hours of approval).
You don’t have to do anything special to get the latest translations — they update alongside the plugin itself.
Translation Completeness
Different languages are translated to different levels of completeness:
- Major European languages (French, Spanish, German, Italian, Portuguese, Dutch) — Typically near-complete;
- Major Asian languages (Japanese, Chinese, Korean) — Generally well-covered;
- Smaller / less-widely-spoken languages — May have partial coverage with some strings still in English.
Untranslated strings fall back to English. Your interface might be 95% in your chosen language with the occasional English word for newer features. As translators catch up, the gaps fill in.
RTL Languages
Pretty Links supports right-to-left (RTL) languages including Arabic and Hebrew. The admin interface flips appropriately when an RTL site language is active.
If you notice any layout issues in RTL mode, please report them — RTL bugs are typically straightforward to fix.
Tips
- Set your WordPress site language correctly first. Pretty Links follows that setting;
- Use per-user language preferences for multilingual teams;
- Contribute to the language project if you want better coverage for your language — it’s a small time investment that helps thousands of users;
- Updates ship translation improvements — keep Pretty Links Pro updated to get the latest translations along with feature releases.