
Available on the Super Affiliate plan.
A group is a collection of products you want to display together — for example, “Best Coffee Grinders 2026” or “My Productivity Stack.” A single group can be inserted anywhere on your site as one block or shortcode, so you don’t have to add each product individually.
This guide is part of the Pretty Links Product Displays, the entry point for the Product Displays add-on.
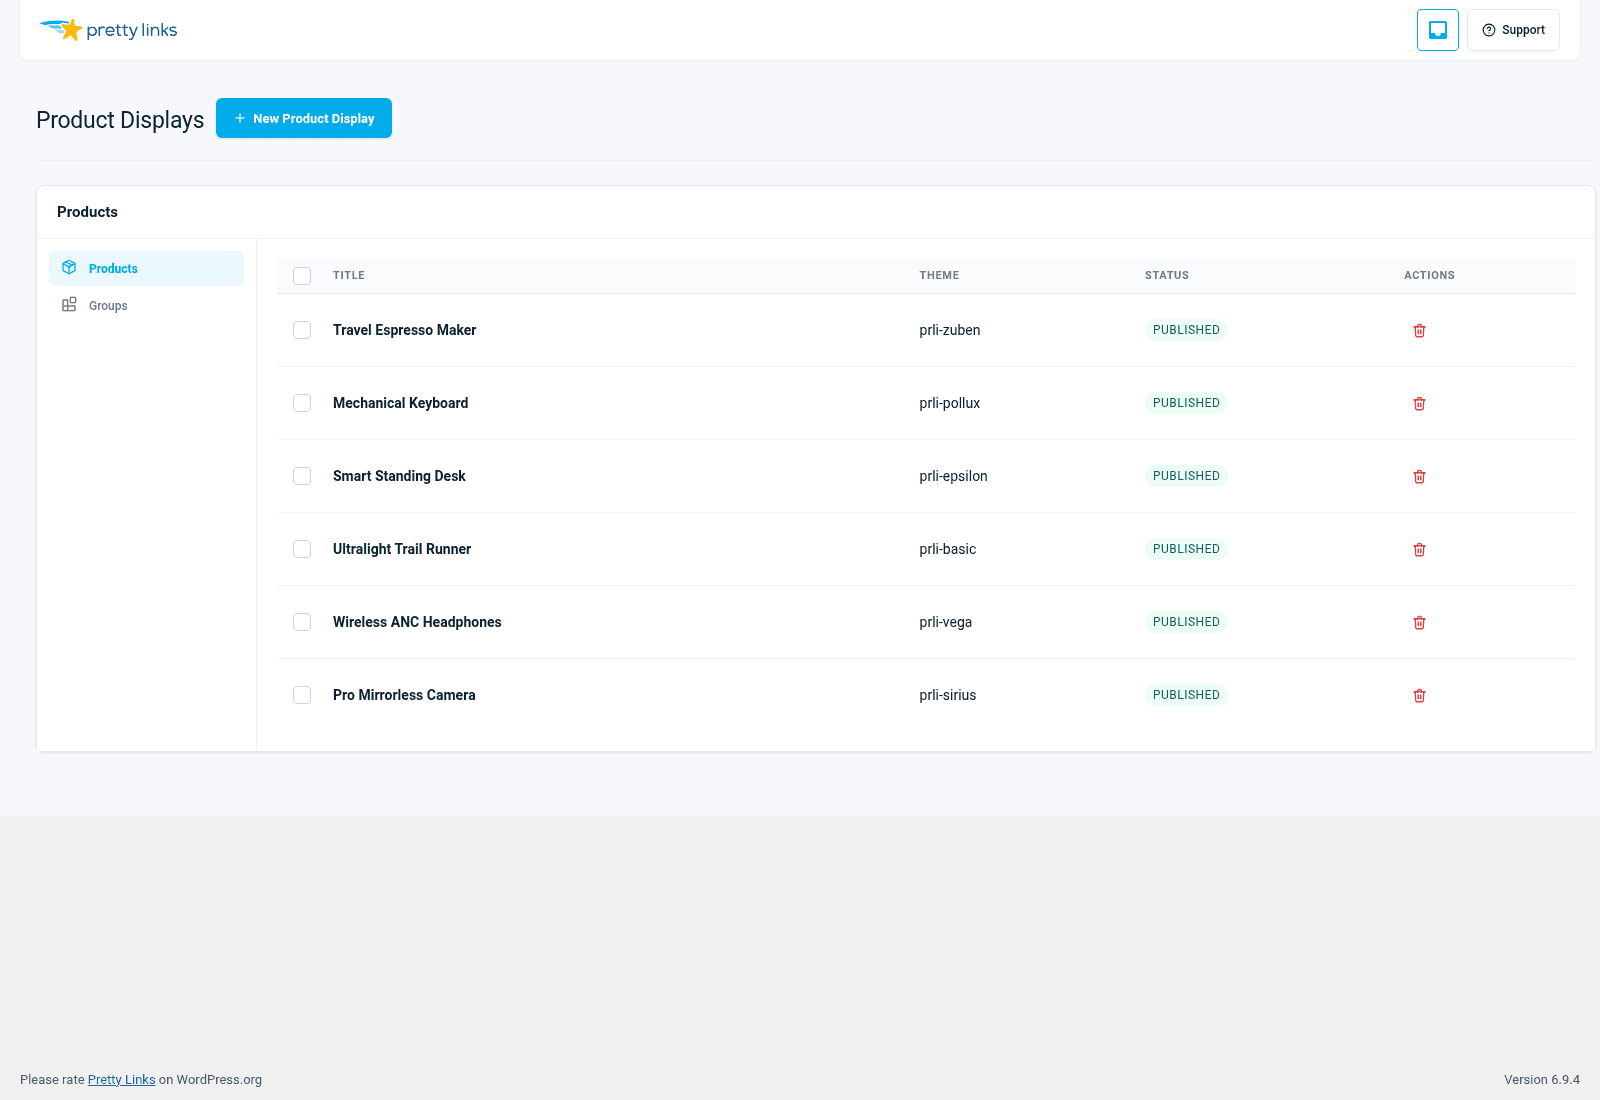
Step 1: Open Groups
In the WordPress admin sidebar, go to Dashboard > Pretty Links > Product Displays > Groups.
You’ll see a list of any groups you’ve already created. To make a new one, click New Group.
Step 2: Name the Group
Give the group a clear, descriptive name. This name is mostly for your own reference — when you insert the group into a post via block or shortcode, you’ll find it by this name.
Good names:
- “Best Espresso Machines (2026 update)”;
- “My YouTube Setup”;
- “Affiliate Toolkit”.
Less helpful names:
- “Group 1”;
- “Stuff”.
Step 3: Pick a Layout
Two layouts are available:
- Grid — Products are shown in a multi-column grid, like a product catalog. Best for visual products (gear, books, software with logos) and for groups of 3+ items;
- List — Products are shown in a single vertical column, with each item taking the full content width. Best for longer descriptions, comparison-style roundups, or groups of 1-3 items.
You can change the layout later, so don’t agonize. If you’re not sure, start with Grid.
Step 4: Pick a Theme
Choose one of the six themes (Basic, Sirius, Pollux, Vega, Epsilon, Zuben). The theme controls the visual style — borders, shadows, button shapes, typography. See Themes for a side-by-side comparison.
You can use different themes in different groups. A “luxury” comparison can use a more elaborate theme; a “tools” page can use Basic for a clean, technical feel.
Step 5: Add Products to the Group
Once the group’s basics are saved, you can start adding products. Two ways to do this:
Add new products from inside the group editor. Click Add Product to open the product form right there. Fill it in, save, and the new product is added to the group automatically.
Add existing products you’ve already created. If you’ve built products under Dashboard > Pretty Links > Product Displays > Products, you can pick them from a list and add them to this group without re-entering anything.
Products can belong to more than one group. A “best coffee grinder” can appear both in “Best Grinders Under $200” and in “Coffee Setup Essentials” — you only enter the product once.
Step 6: Order the Products
Drag and drop products inside the group to reorder them. The order in the editor is the order visitors see on the page — so put the strongest item first if you’re optimizing for clicks, or sort by price/category if you’re going for clarity.
Step 7: Save
Click Save. Your group is ready to insert into any post, page, bio page, or sidebar.
Editing Later
To change a group, return to Dashboard > Pretty Links > Product Displays > Groups and click the group’s name. Changes you make — adding a product, changing the layout, swapping the theme — automatically flow through to every post that displays this group. You don’t need to update each post individually.
This is one of the biggest reasons to use groups: it turns “update three blog posts whenever a price changes” into “update one product, done.”
Inserting Groups
See Inserting Displays for how to drop a group into a post, page, page builder, or bio page.