Expiration lets you automatically retire a pretty link at a specific date or after a click threshold. Once expired, the link stops sending visitors to its target URL — making it suitable for limited-time offers, capped giveaways, and any campaign with a built-in end.
Two Ways to Expire
Expire by Date
Set a specific date (and optionally a time) when the link should stop working.
Use this for:
- Promotional codes — A discount that’s only valid through the end of the month;
- Webinars — A registration link that closes when registration closes;
- Time-limited content — Early-bird pricing, flash sales, holiday offers;
- Anything with a known cutoff — If you know the date in advance, set it once and forget it.
Expire by Unique Visitors
Set a click threshold as a maximum number of unique visitors. Once that many distinct people (counted via the Cookies Explained prli_visitor cookie) have clicked, the link expires.
Use this for:
- Capped giveaways — “First 100 people get the discount”;
- Limited beta access — “First 500 signups get in”;
- Inventory-tied offers — Approximate “while supplies last” behavior;
- Bandwidth-limited downloads — Cap the number of visitors who can grab a hosted file.
What Happens When a Link Expires
- Custom URL — Redirect them to a different URL (like your homepage, an “offer ended” page, or a successor offer). Toggle Use a custom URL on and supply the destination. This is usually the friendlier choice;
- No redirect — Leave the custom URL toggle off. Pretty Links aborts the redirect, and the visitor lands on your site’s standard 404 / not-found page. Useful when the offer is well and truly gone.
Configure this on a per-link basis in the link’s Expiration tab.
Expired Links in the List
Expired links show small flag icons in the Pretty Links list — gray when an expiration is pending, red once it’s elapsed — for both date and visitor-count modes. Hover the icon to see the configured threshold.
You can also filter the list to show only date-expired links via the Expired filter segment (visible when at least one link has a past expiration date).
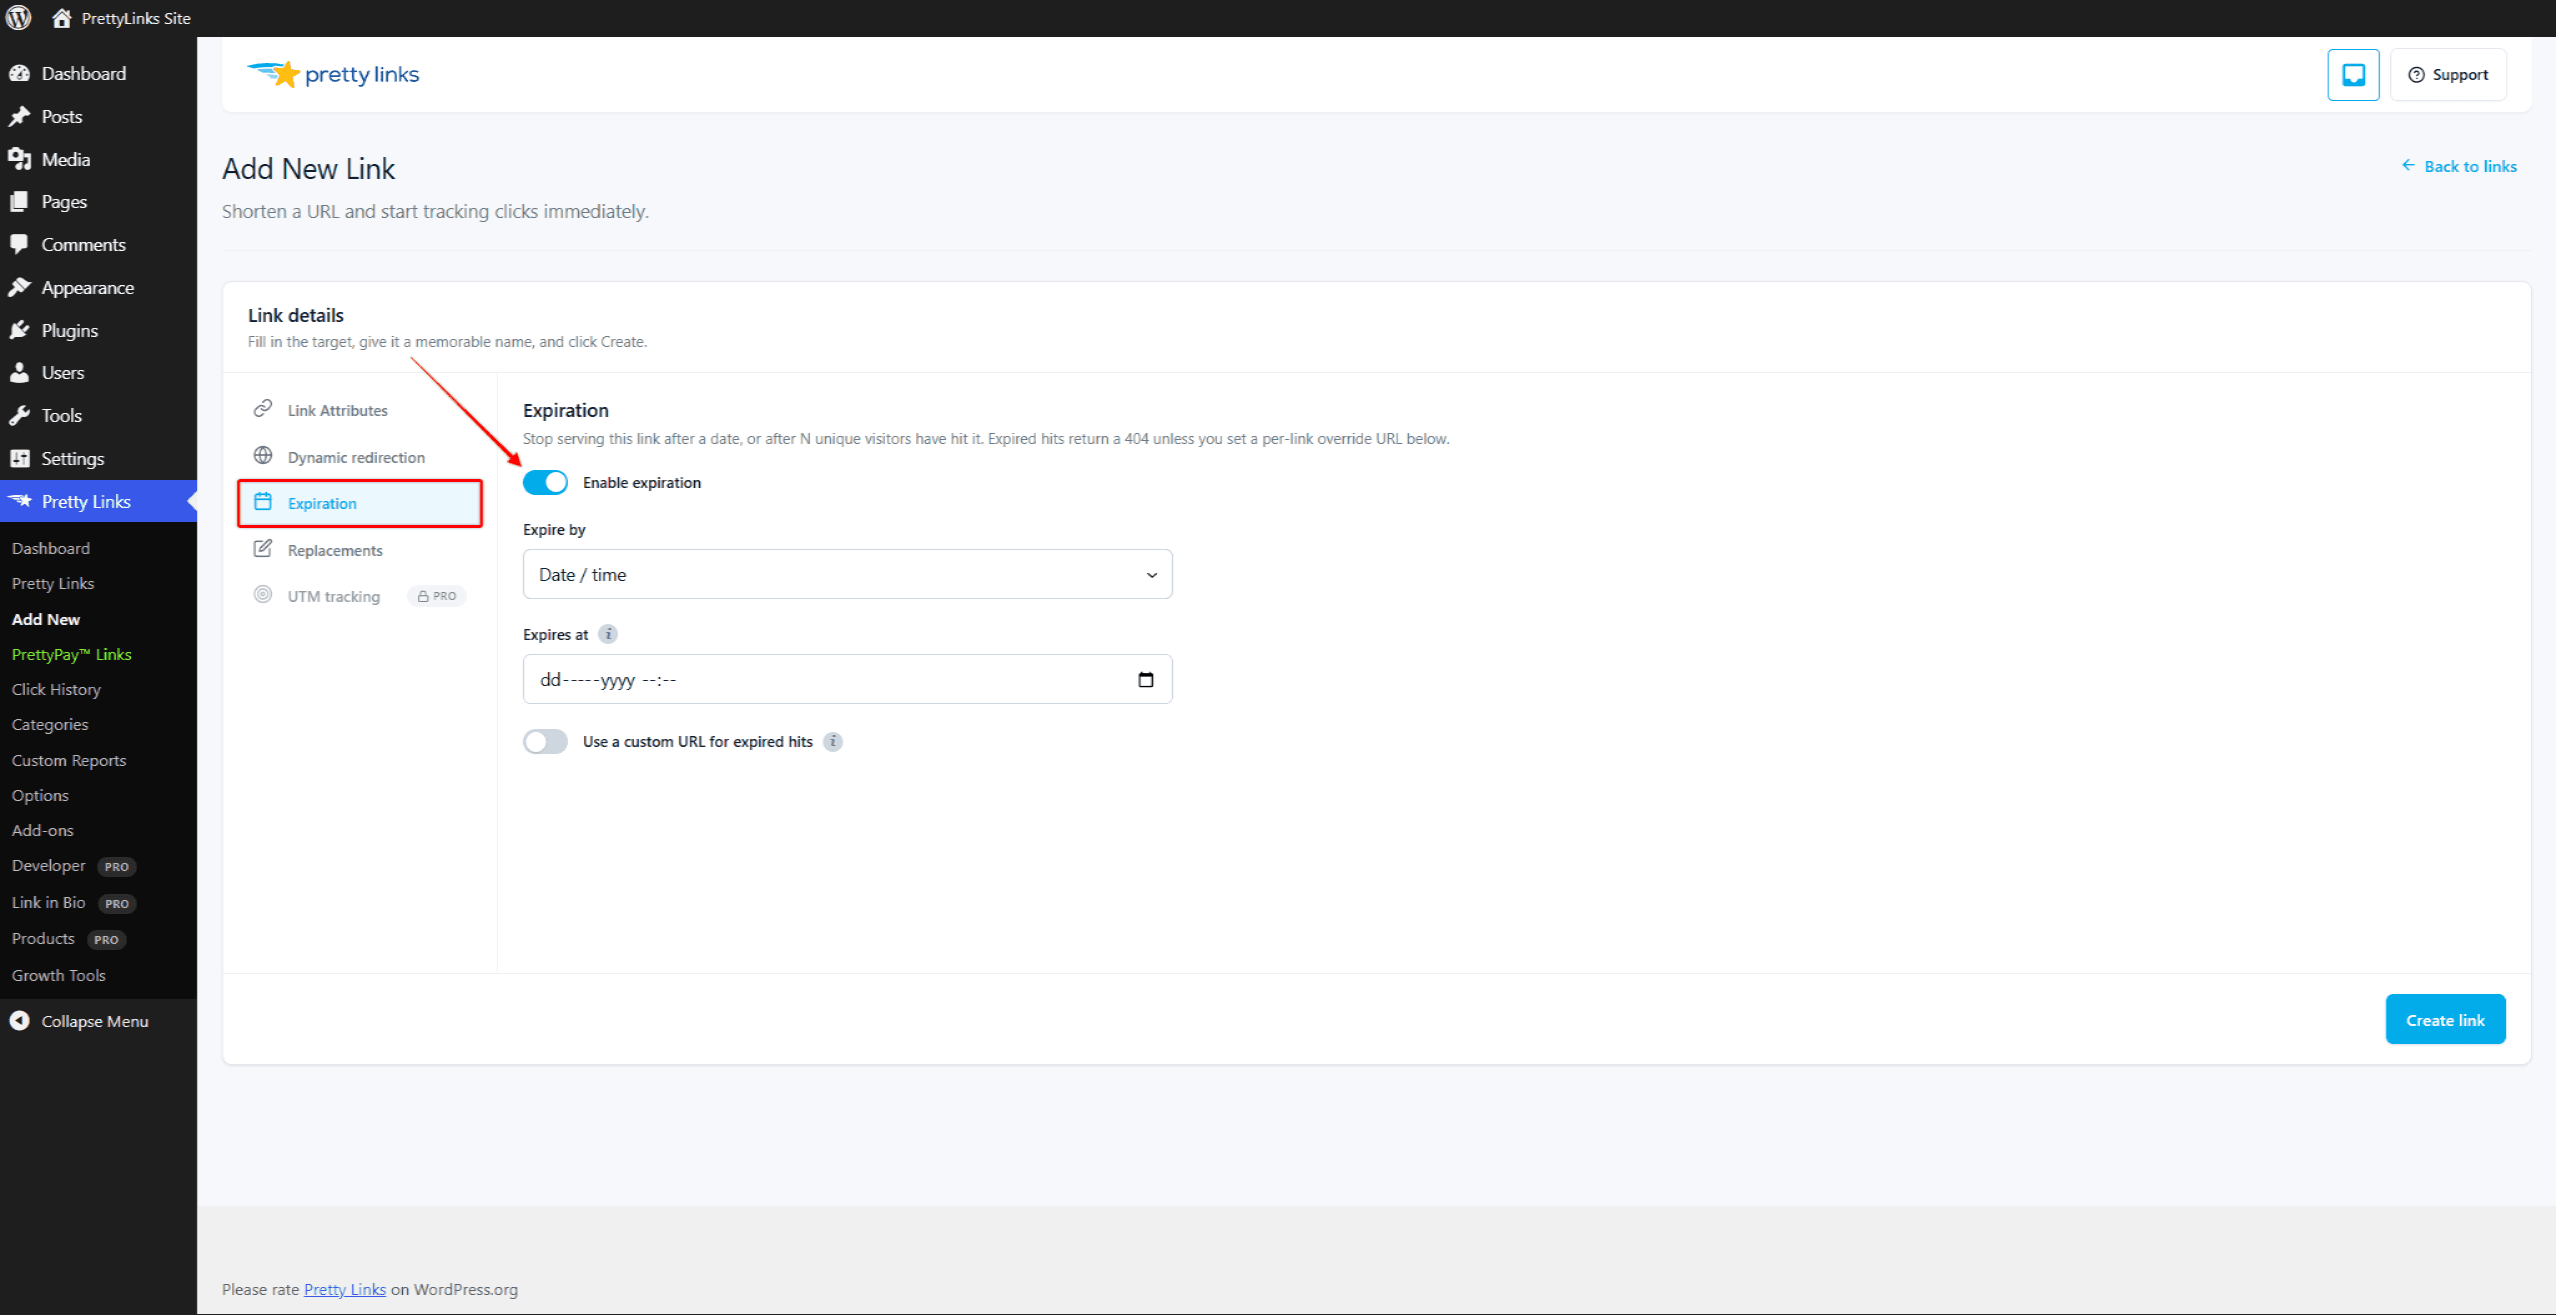
Setting Up Expiration
- Edit the link you want to expire.
- Open the Expiration tab.
- Toggle Enable expiration on.
- Choose Expire by:
- Date — Pick a date and time.
- Unique-visitor count — Enter a number of unique visitors.
- (Optional) Toggle Use a custom URL on and enter an expired-redirect URL. Leave the toggle off to abort the redirect (visitor sees a 404).
- Save the link.
Each link supports one mode at a time — date or visitor count, not both. To approximate “whichever comes first,” create two links pointing at the same destination with different modes.
Reviving an Expired Link
You can un-expire a link at any time:
- Edit the link;
- Push the date out, raise the visitor cap, or toggle Enable expiration off entirely;
- Save.
The link starts working again immediately, and any new clicks are recorded as normal. Disabling the toggle preserves the date and visitor-count values, so re-enabling later picks up where you left off.
Things to Know
- Expiration runs at click time. Pretty Links checks the expiration status when a visitor clicks the link. There’s no scheduled job that has to wake up — the moment the date passes or the cap is reached, the next click sees the expired behavior;
- Click tracking still works. Even after a link expires, the redirect to the custom URL (or the 404 response) is recorded as a click in your reports. That way you can see how much traffic an expired campaign is still drawing;
- Expiration runs first. Expiration is evaluated before Targeting and Rotation, so an expired link never picks a fresh variant — all variants stop together;
- Visitor count uses uniques. The “expire by visitor count” threshold is compared against unique visitors, not raw clicks, so bots and refreshes can’t burn through your cap;
- Time zones. Expiration dates evaluate against your server’s clock; the per-link picker uses your browser’s wall-clock time. Double-check that setting if you’re cutting it close.
Combining With Other Features
Expiration works with all other redirect features:
- Cloak Redirect and Pretty Bar — Branded experience right up until the cutoff;
- Targeting and Rotation — Expire complex campaigns cleanly;
- Split Tests — End a test on a fixed schedule for clean data;
- Click Tracking Modes — See exactly how the link performed before and after expiration.