Contents
Link shortening provides a number of key benefits to your website. It can result in improved visibility on search engines, as well as links that look cleaner and more trustworthy. However, a shortening tool like PrettyLinks doesn’t have to be used only for your own links.
In fact, you can set up your own link shortening service in a matter of minutes. This will enable users to create pretty links with your domain name, straight from your website.
Providing this type of service can help you increase your brand’s visibility, and gives users more reason to stay on your site rather than leaving them to use an external tool.
In this post, we’ll talk about why you might want to enable visitors to create their own shortened links. We’ll also show you how to set this up using the PrettyLinks plugin. Let’s get started!
Why You Might Want to Offer a Link Shortening Service
Public Link Creation is a feature offered by the PrettyLinks plugin, which enables you to implement a link shortening service on your site. This effectively lets you share the functionality of PrettyLinks with your users, enabling them to create concise links using your domain name.
What’s more, this feature has a number of interesting possible uses. First and foremost, it lets you create your very own link shortening website, similar to bit.ly or TinyURL.
You could also provide this service as an additional tool to your visitors, alongside your other content. This technique helps to build brand awareness, as people will be able to share links that use your domain name.
You could also use this feature to create an internal link shortener for your business. For example, imagine that you run an affiliate program, and you want all employees or partners to use the same branded links. With Public Link Creation, you can maintain consistent link branding across your entire business, while helping your collaborators create beautified links in the process.
How to Create Your Own Link Shortening Service via Public Link Creation (In 3 Steps)
Now that we’ve outlined the benefits, we’ll take a look at how you can use Public Link Creation to create your own link shortening service in three steps.
Step 1: Activate the Public Link Creation Feature
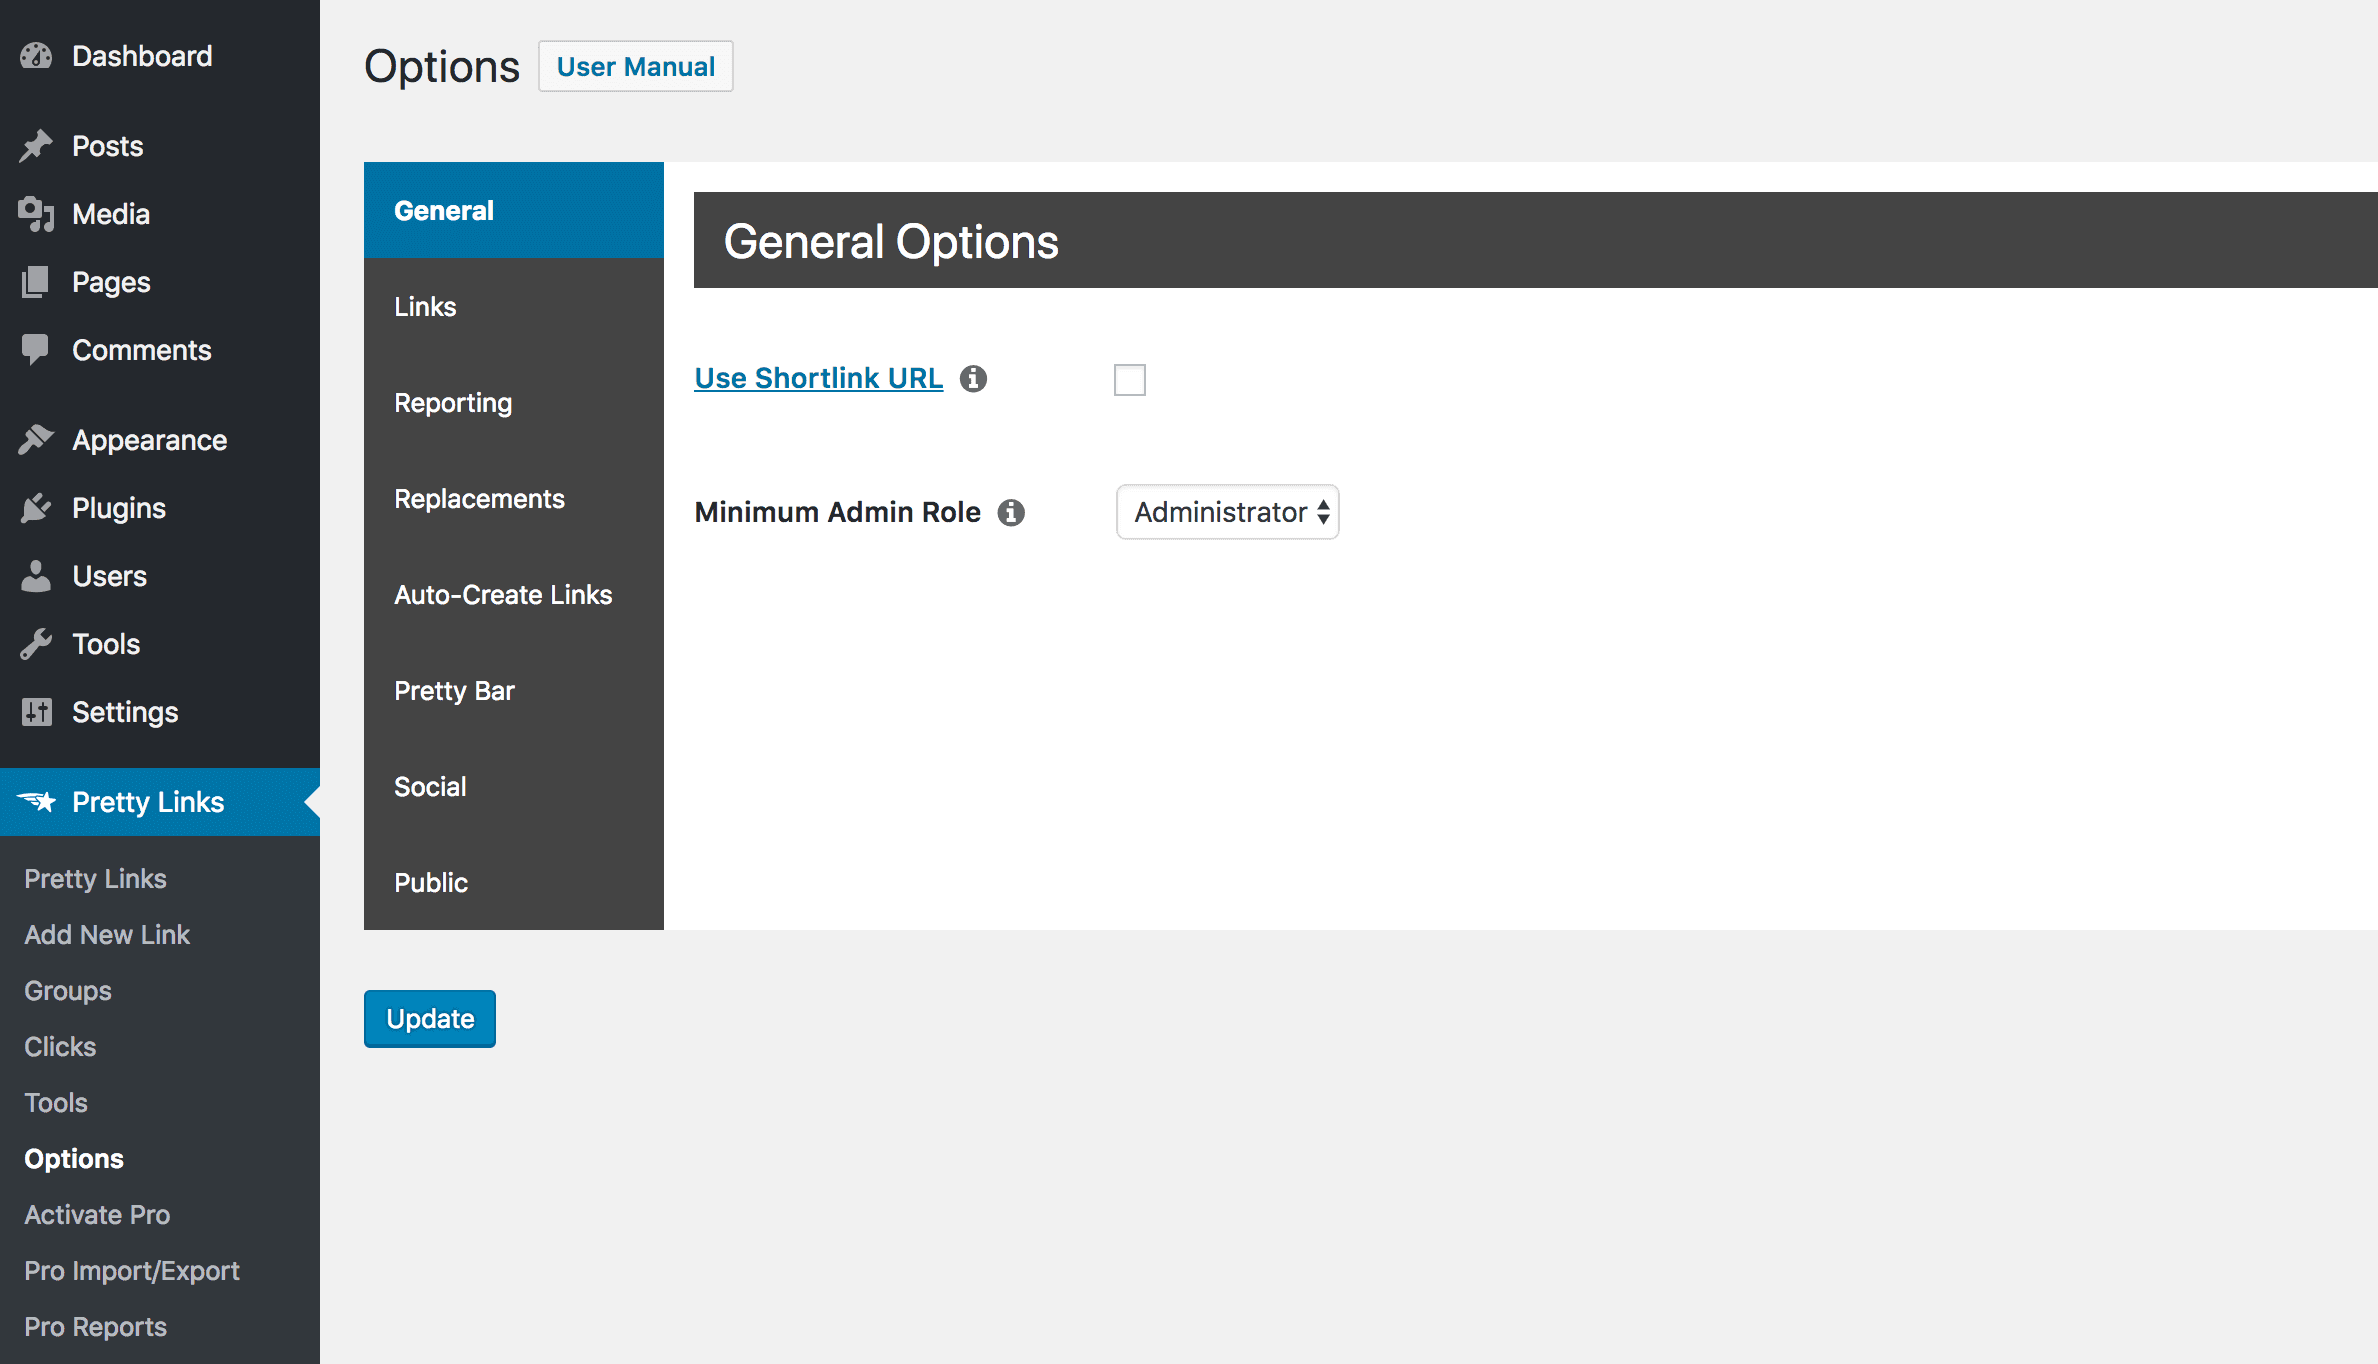
After you’ve downloaded and installed the PrettyLinks plugin, you’ll need to activate Public Link Creation. You can do this by navigating to PrettyLinks > Options in your admin dashboard:
Once on the Options page, open up the Public tab:
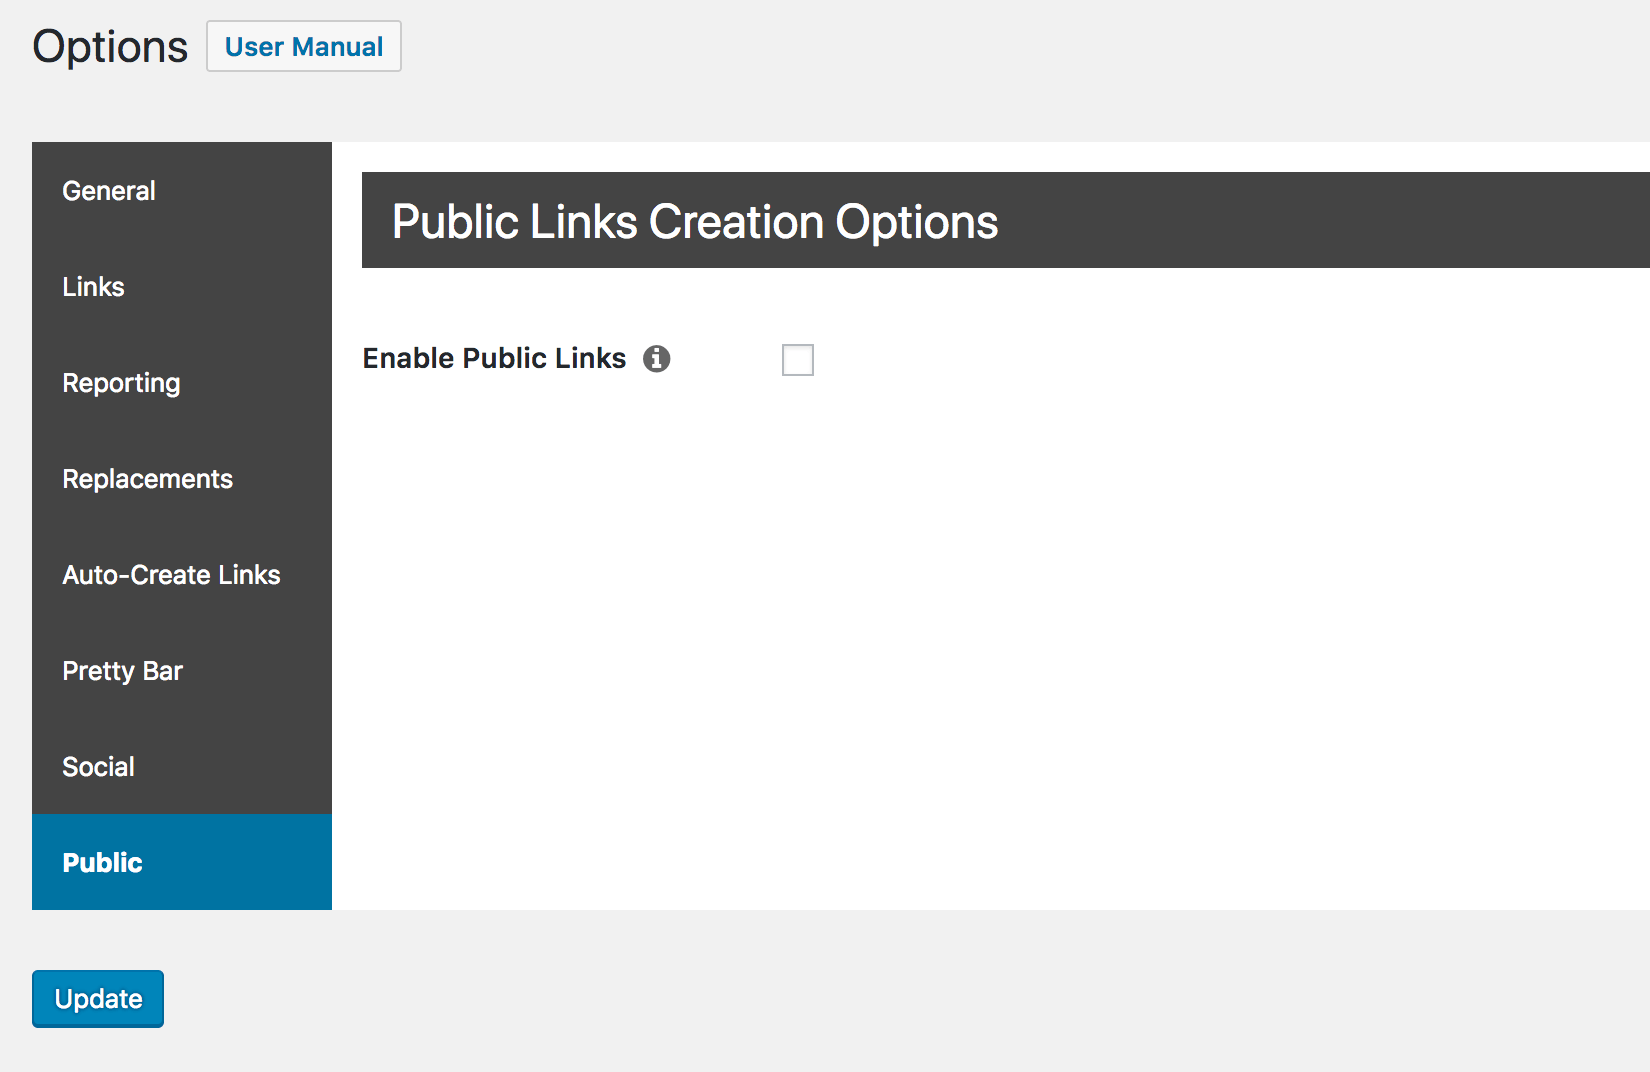
Here you’ll initially see one option, labeled Enable Public Links. All you need to do is tick this checkbox. Another option will appear, which we’ll look at later on:
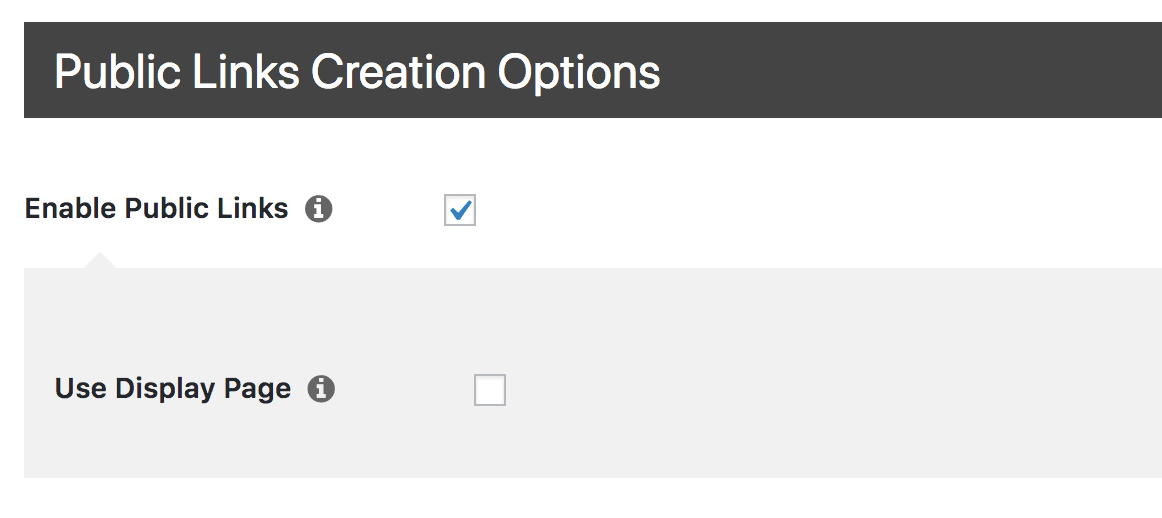
For now, you can save your changes. Public Link Creation will now be available for you to use, so next you’ll need to add the feature to your site.
Step 2: Add the Link Shortening Tool to Your Site
There are two ways you can add your link shortening tool to your website. First, you can use the Create a Short URL widget (under Appearance > Widgets):
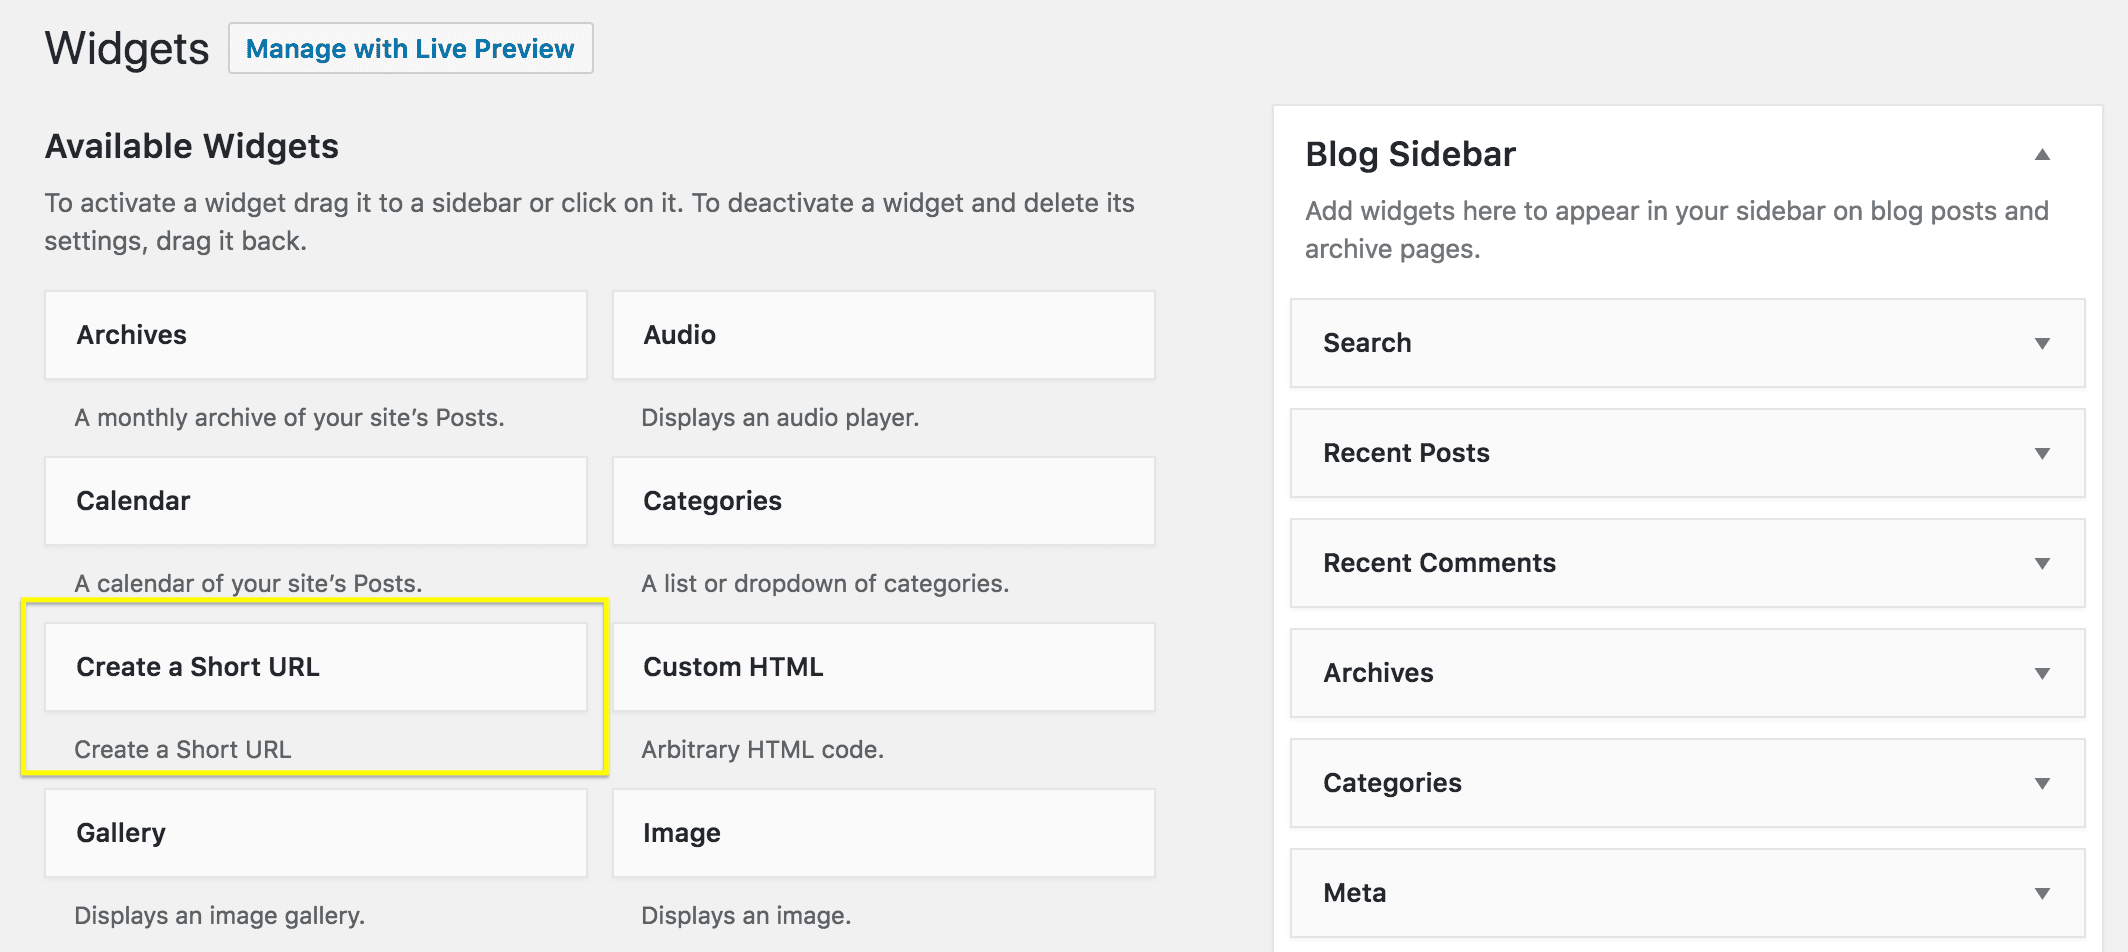
Once you add this element to a sidebar or footer, you’ll be able to customize the text that’s displayed, select which redirect type the created links should use, and decide if the resulting links should be tracked. You also have the option of setting a link group, which will add all links created with the tool to one organized category:
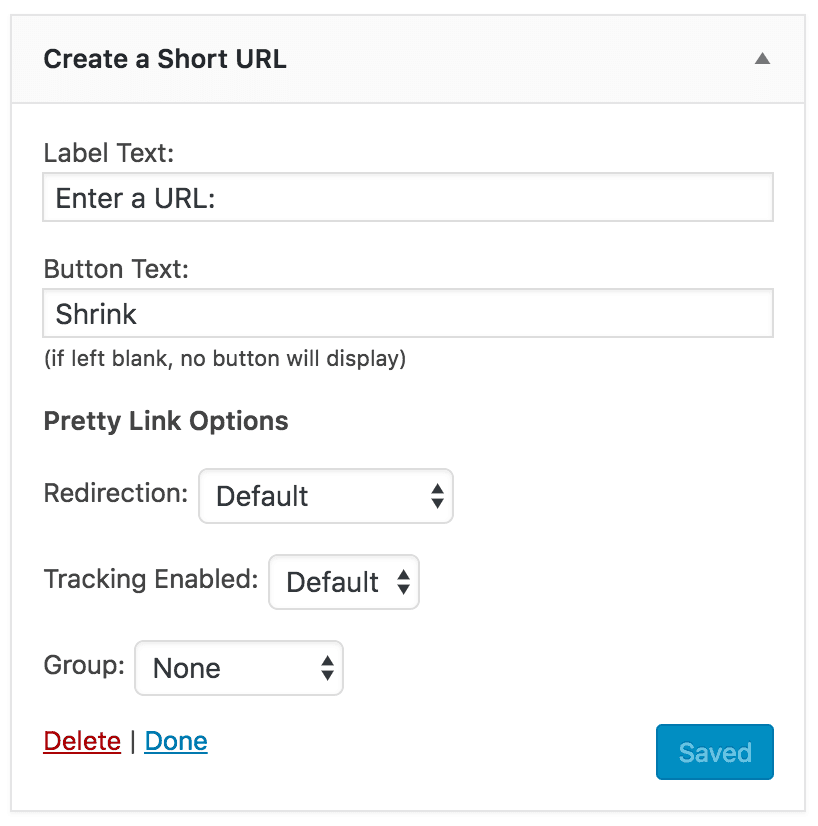
After you save your changes, you can check out your site to see the tool in action:
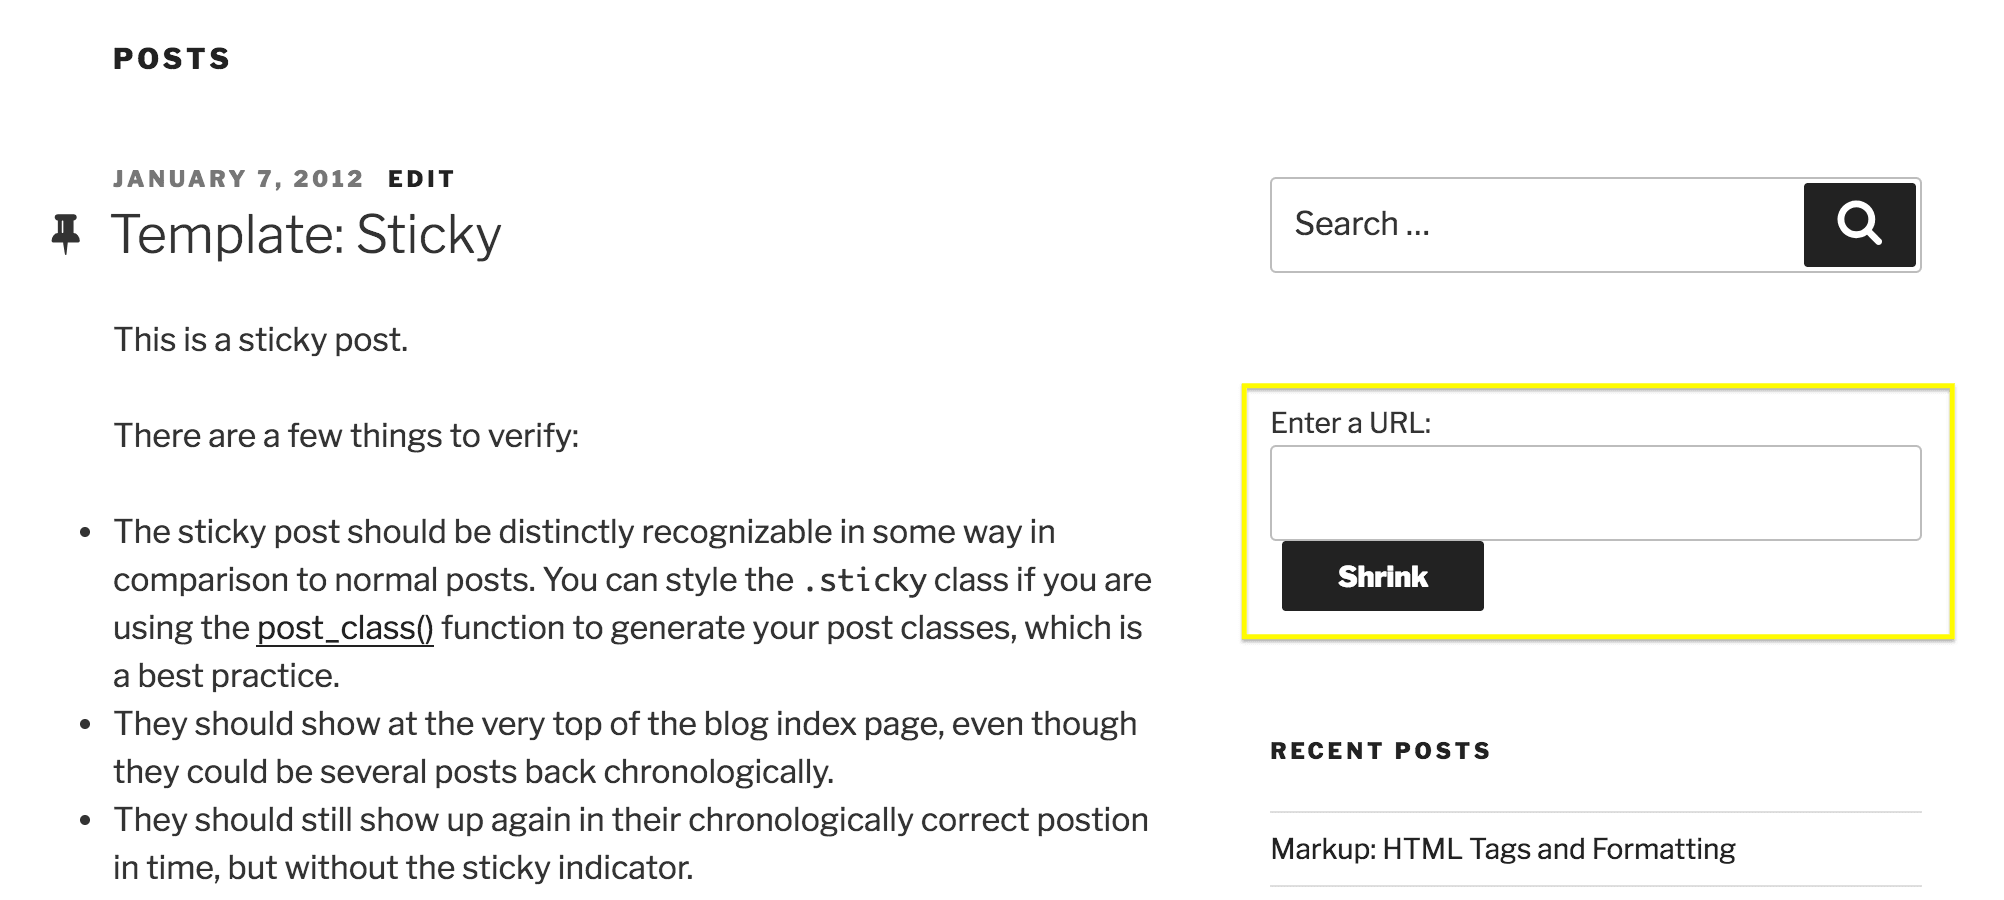
If you don’t want your link shortening tool placed in a sidebar or footer, you can also add this feature using a shortcode. This is a small piece of code that you can add to any post or page, which will generate your link shortener on the front end of your site.
In this case, the shortcode you’ll need to use is prli_create_form (encased in brackets). Simply paste in this shortcode wherever you want the shortener tool to appear:
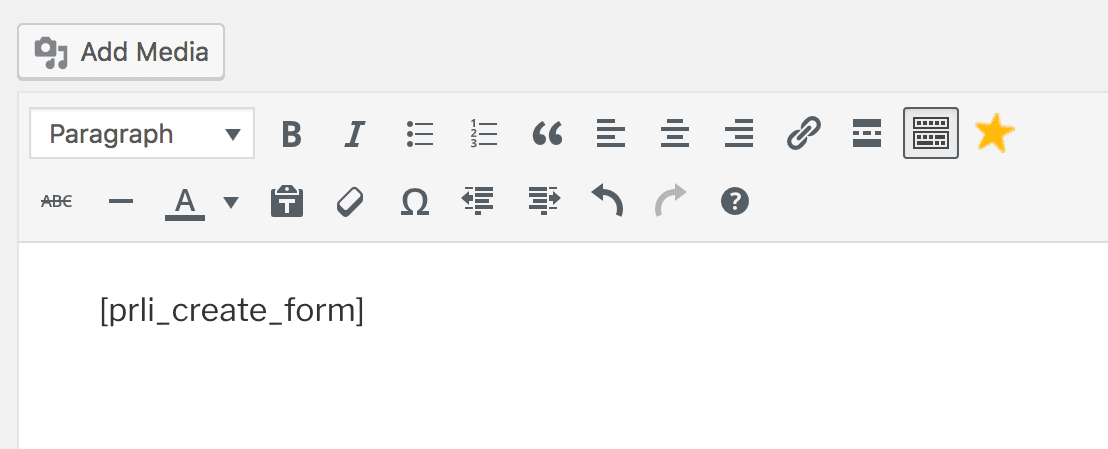
When you view the page, you’ll see that the shortcode has been replaced with the actual feature:

Once you’ve placed the shortener where you want it to go, you’re nearly done. All you need now is a way to deliver the shortened links to your users.
Step 3: Set Up a Link Display Page
When someone uses your link shortener, they will be shown the resulting pretty link on a specially designed Link Display Page. PrettyLinks provides a default option that you can use without any additional configuration, which looks like this:
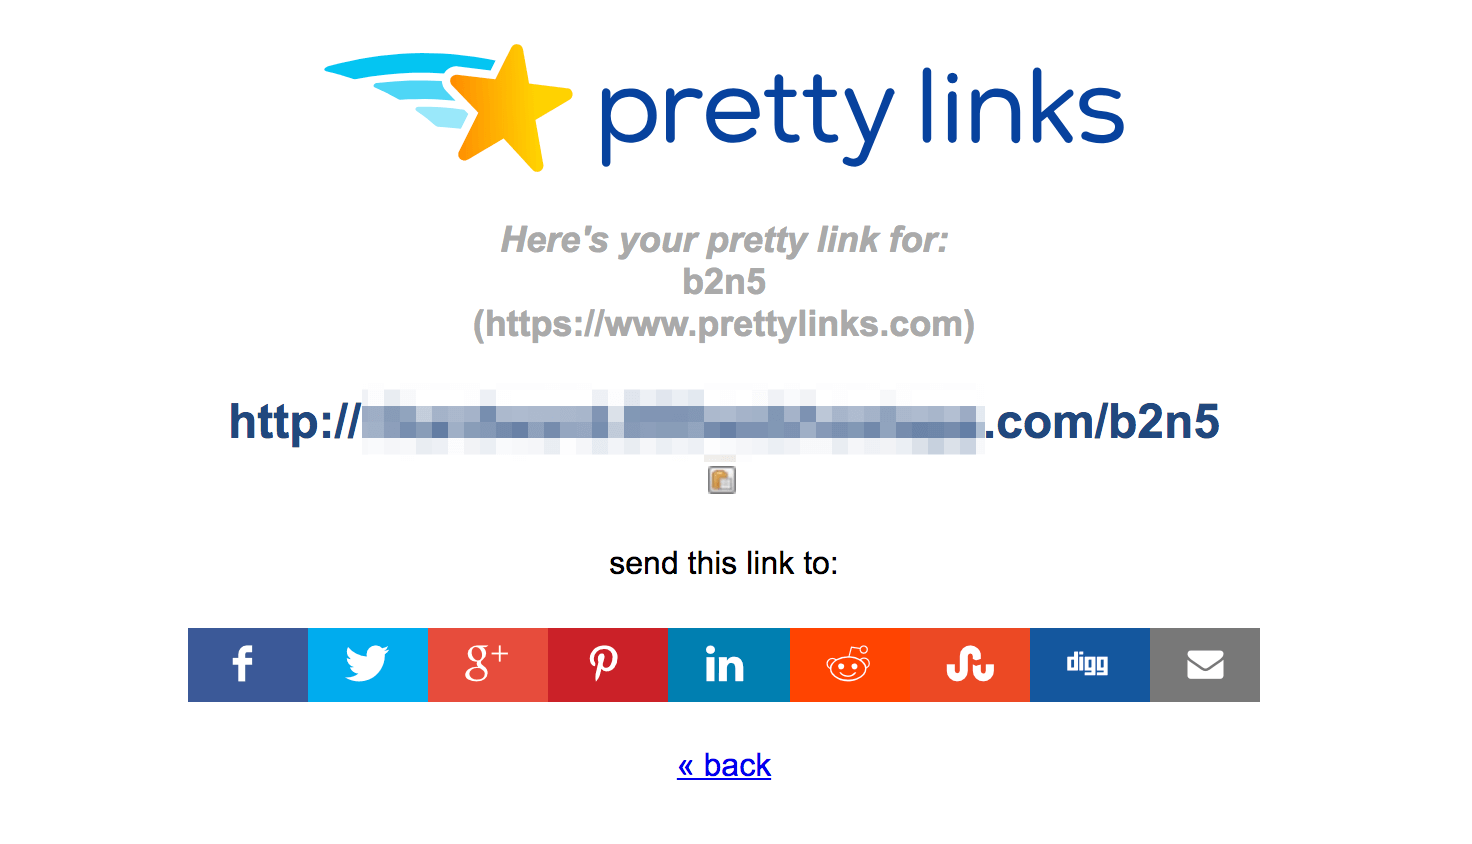
However, you might want to create your own custom page for this purpose. To do that, return to PrettyLinks > Options and open the Public tab again. Here, you’ll see the Use Display Page option, which you should enable:
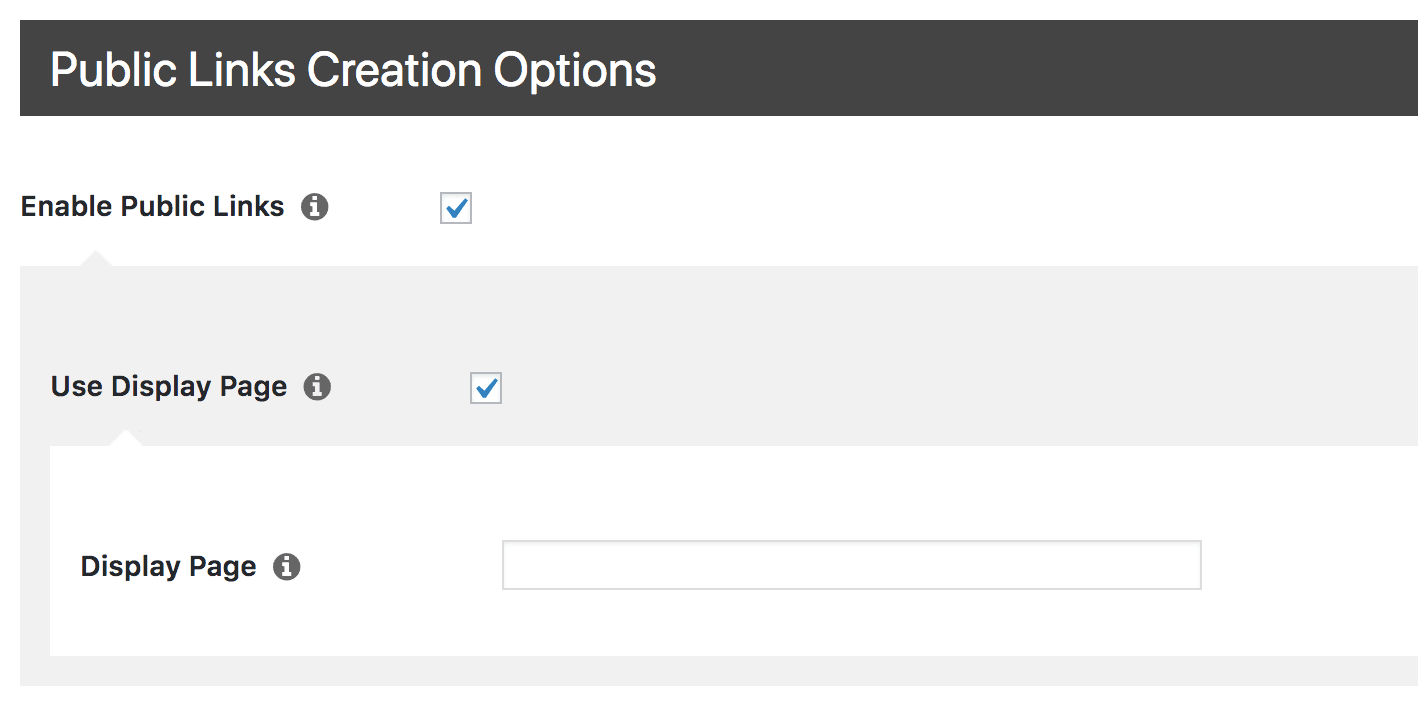
You’ll now be able to specify a page that you want to use to display your links. First, enter the full URL for the page in question, and save your changes. After that, you just need to add another shortcode to the page itself.
Open up the page you specified, and add the following shortcode wherever you want: prli_create_display (again, encased in brackets). This shortcode will only display the shortened link, so feel free to add more content around it for context.
Save your page, then try it out yourself by shortening a link and viewing the results on your custom display page:

With that, you’ve successfully set up your own link shortening service!
Conclusion
PrettyLinks isn’t just useful for beautifying your own links. In fact, anybody can create their own link shortening service using this plugin, by enabling the Public Link Creation feature. This lets your users easily create pretty links based on your domain.
In this article, we’ve shown you the process for using PrettyLinks to create your own link shortening service. You’ll just need to follow these steps:
- Activate the public link creation feature.
- Add the link shortening tool to your site.
- Set up a link display page.
Do you have any questions about how to run your own link shortening service? Let us know in the comments section below!


Leave a Reply