
Contents
We’re all teachers in this day and age. Whether you’re a fan of skill-building sites like Skillshare, Coursera, or Udemy, you probably know that virtual learning has become big business.
Considering that, imagine if you could create your own online learning WordPress site and teach skills you’ve mastered to other excited, eager learners on the internet.
In this post, we’ll show you, step-by-step, how you can start your own online education website in WordPress using MemberPress Courses and PrettyLinks.
Unlock even more revenue from your online business with PrettyLinks – get started today!
Who Should Create an Online Learning Site?
We’re all experts at something. While the list could go on, following are a few types of people who have what it takes to start a virtual learning site:
- Marketers who want to share their knowledge
- Creatives who are willing to share their expertise with other up-and-coming artists
- Authors who want to help writers publish their stories
- Entrepreneurs who are open to sharing tricks of the trade with others
A virtual learning site can help you take the skills or information you have and share it with others seeking the same knowledge. If you’ve ever wanted to venture into running your own virtual learning site, now’s the perfect time!
Start Your Virtual Learning Site in 9 Simple Steps
Step 1: Install and Set Up MemberPress
MemberPress is a super simple and powerful WordPress Membership and online course creation plugin that helps you create, manage, and track membership subscriptions and sell digital download products for your online business. MemberPress integrates fully with your already-existing WordPress site, so you can get your digital learning business up and running quickly and easily.
Before you go any further, be sure to get the MemberPress plugin, install it, activate your plugin license, and set up your preferred payment method. Also check out WP Tech Support for all your MemberPress troubleshooting needs.
Step 2: Install MemberPress Courses

Now that you have MemberPress, you can install the MemberPress Courses Add-on. All you have to do is visit the MemberPress > Courses page in your WordPress dashboard and click Install & Activate MemberPress Courses Add-On.
Once the add-on is installed, you’ll be redirected back to the Courses page where you can start creating your courses.
Step 3: Create Your Course(s)
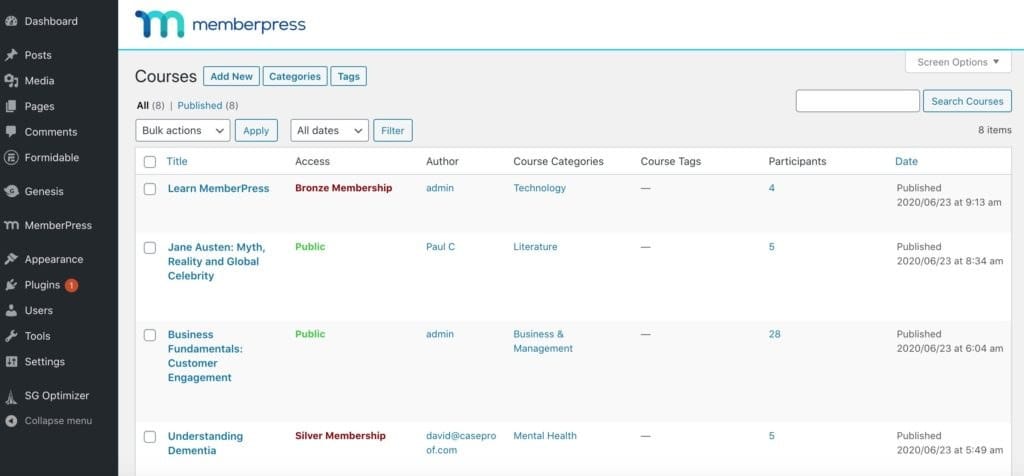
Visit your new MemberPress > Courses page, and click Add New to start adding a new course. You’ll then be taken to a new page where you can add the name and description of your online course.
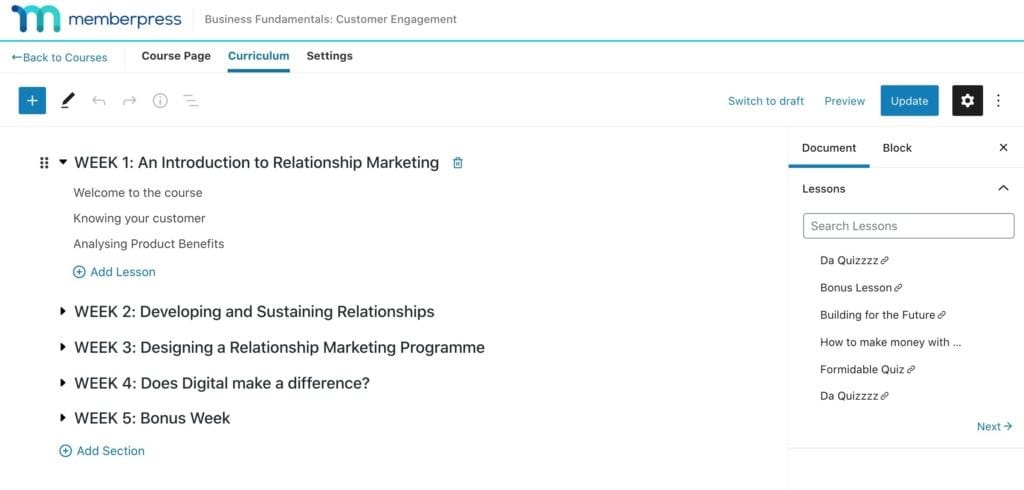
Then, click Curriculum to add sections and lessons. If you’ve already added lessons to your site, you can search for them and use the grid icon on the left to drag them into a Section within your Course.
To view a Lesson, click the view button next to it to open a preview on the front-end in a new window or tab in your browser.
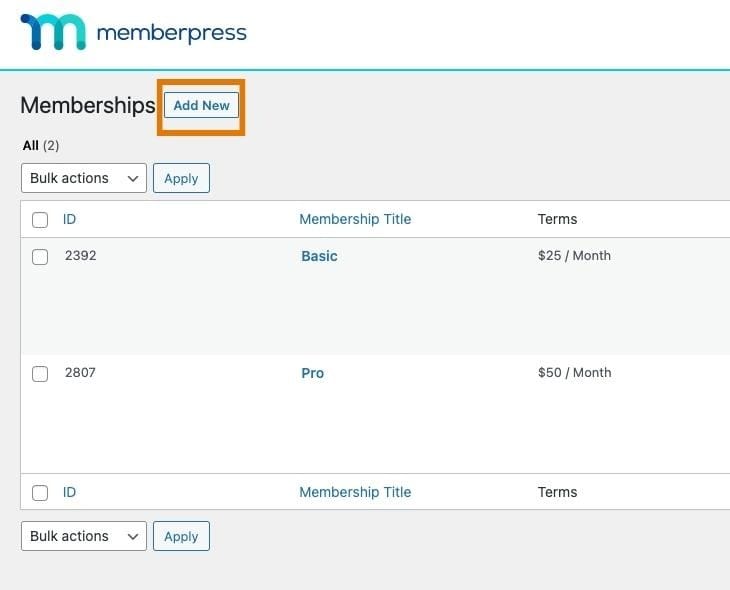
Step 4: Create Your Membership(s)
On your dashboard, scroll down to MemberPress and click Memberships. Once you’re on that page, you’ll click Add New. This is where you’ll begin creating your course Memberships.
Here, you’ll be able to set the name of your course, its price, and whether you want customers to have lifetime access or access for a certain amount of time. This is also where you can set up recurring subscription membership plans.
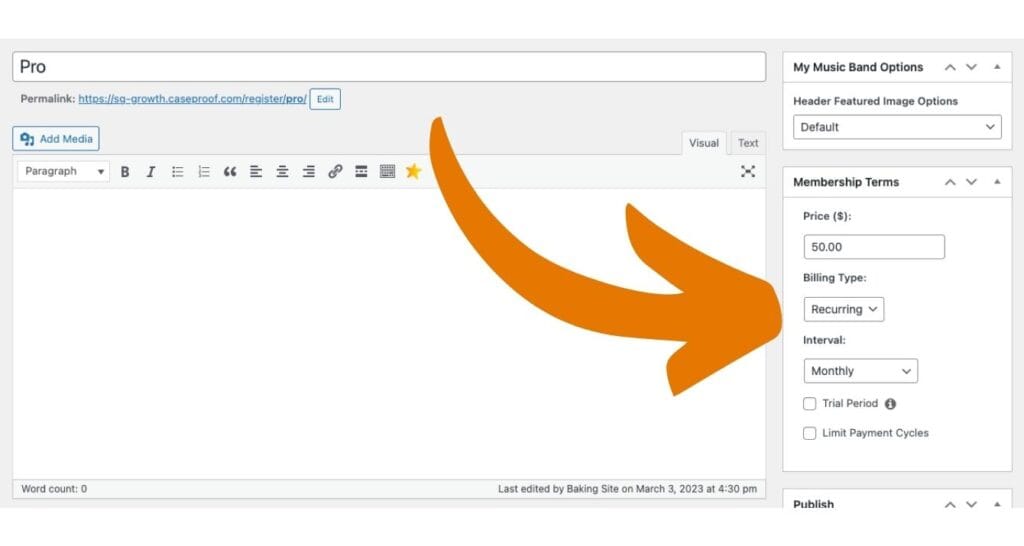
When you scroll down to Membership Options and click Price Box, you’ll be able to create a display that will show to your customers. Here, you can add benefits of the membership, pricing, custom button text, and more.
Once you’re finished, scroll back up and click Publish. You’ve now created your first course membership. Follow these steps again for as many course types as you need.
Step 5: Create Groups
Scroll down to Groups. Creating Membership Groups will allow your subscribers to subscribe to only one membership at a time but also gives them the option to upgrade or downgrade their membership.
Once you’ve clicked Groups, click Add New to create your group.
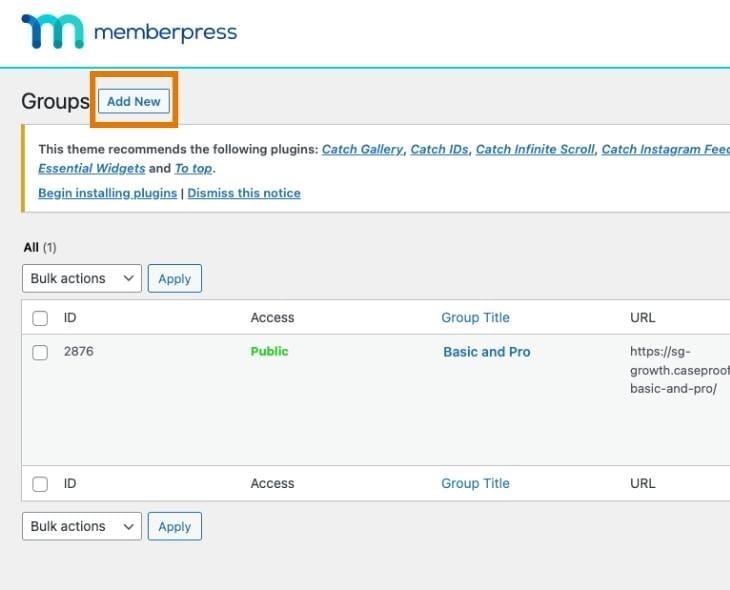
When you’ve finished configuring your group, click Publish.
Step 6: Protect your Courses With Rules
Now that your Courses and Memberships are in place, scroll down to Rules and click Add New. This is where you’ll determine which memberships have protected content.
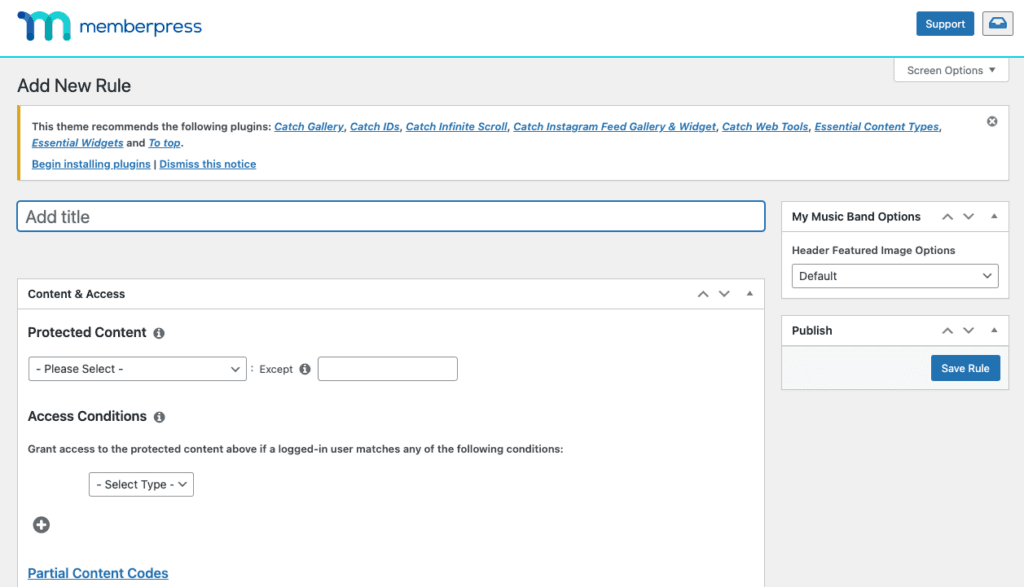
Here, you’ll type in your rule title, as you can see above, then link your memberships’ pages. Under Access Conditions, you’ll determine which memberships can be seen. Once you’re done here, click Publish, and repeat this step for your other membership levels.
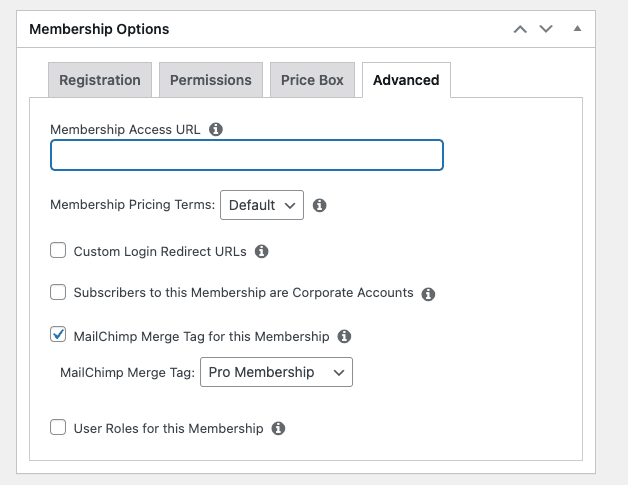
Step 7: Link Your Pages to Your Memberships
Now that you have your pages and your memberships set up, you can link the membership with your course overview page so your customers can immediately access what they’ve paid for when they sign up.
Navigate to Pages and right-click on the page for your course. Click Copy link address. Now, head back over to MemberPress > Memberships, and click on the corresponding membership.
Once you click on that page, scroll down to the Advanced tab and paste the link you just copied into the Membership Access URL box and the Default Login Redirect URL box. This allows members to automatically access their courses and be redirected to that URL when they join.
Step 8: Configure Your Menu
Now all you need to do is set up your menu to make sure your members can easily join your site.
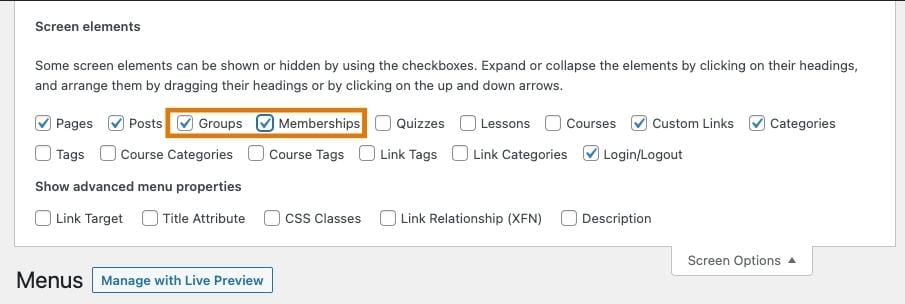
In your WordPress dashboard, go to Appearance, then Menus. Once you’re there, look at the top of the page and click Screen Options. Here, be sure to select Groups and Memberships. After that, you can add your menu items so your customers can sign up for and access your courses.
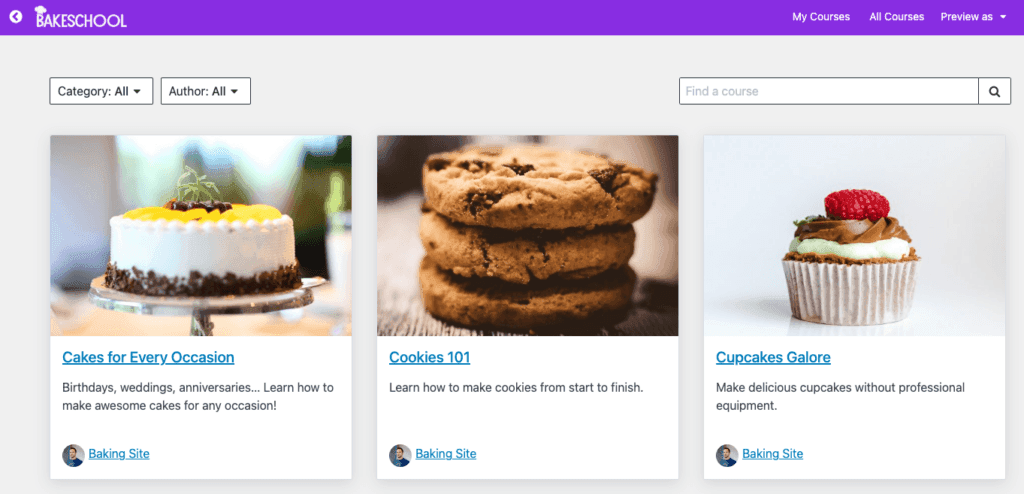
Once you’ve completed the steps, you can preview your website to make sure your membership levels are visible and easy to use. Now, you can take time to customize your membership page and tweak it to fit your brand as needed. Once everything is set to your preferences, you’re ready to share your online business with the public and make some passive income!
9. Install & Activate PrettyLinks
Now that you have your site set up and ready to go, you want to make sure your links are being managed and tracked properly. This is where PrettyLinks comes in.
The plugin allows you to redirect, cloak, and monetize your links all from your WordPress dashboard. You no longer have to juggle multiple third-party software or be a coding and tech wizard to accomplish this — everything is right at your fingertips.
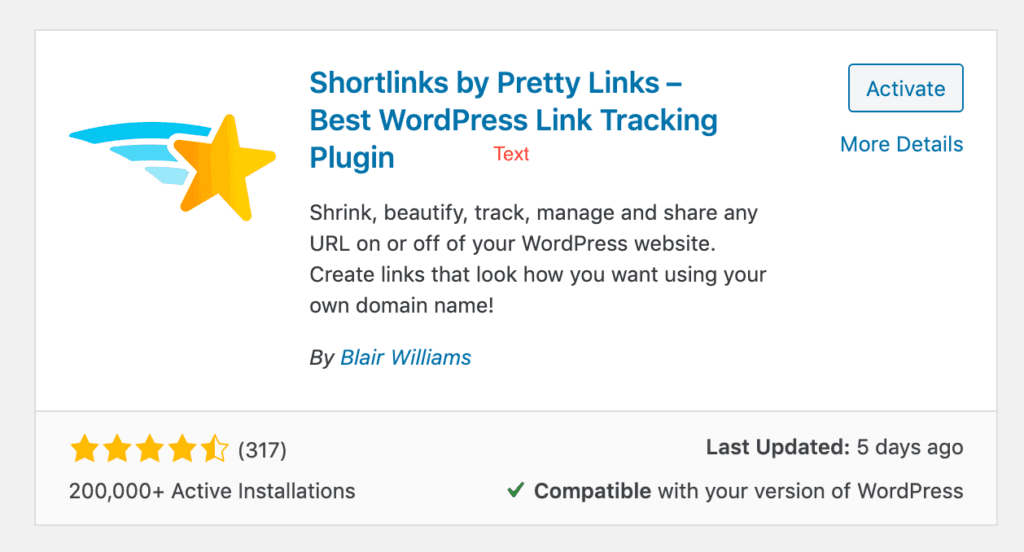
To install the tool, go to the WordPress plugin directory and select Add New. From there, type “PrettyLinks” in the search bar and hit Activate.
For more info on getting started with PrettyLinks, check out how to create your first Pretty Link here.
Conclusion
Starting an online business takes a lot of time and effort, but once all the pieces are in place, making money from your efforts is a no-brainer. Creating an online learning membership business is an excellent way to help others, pursue your passions, and profit from those efforts all at the same time!
Are you considering starting an online learning business? What will you teach? Tell us in the comments!


Leave a Reply