
Contents
Shopify is an excellent platform for eCommerce entrepreneurs. As an all-inclusive solution with plenty of tools to help you grow your store, it’s no wonder that over one million businesses use it. However, you may be wondering how to get started.
Fortunately, Shopify provides plenty of paths to becoming a successful enterprise. Whether you’d like to sell products or services, online or in-person, you’ll likely find solutions that can help you on your way.
In this post, we’ll introduce you to Shopify and highlight the features you might find most helpful. Then, we’ll walk you through how to build your eCommerce store in five steps. Let’s get started!
An Introduction to Shopify
Shopify is an eCommerce platform with a lot to offer business owners. Whether you sell physical items, digital products, or even services, you can use this solution to create an online storefront.
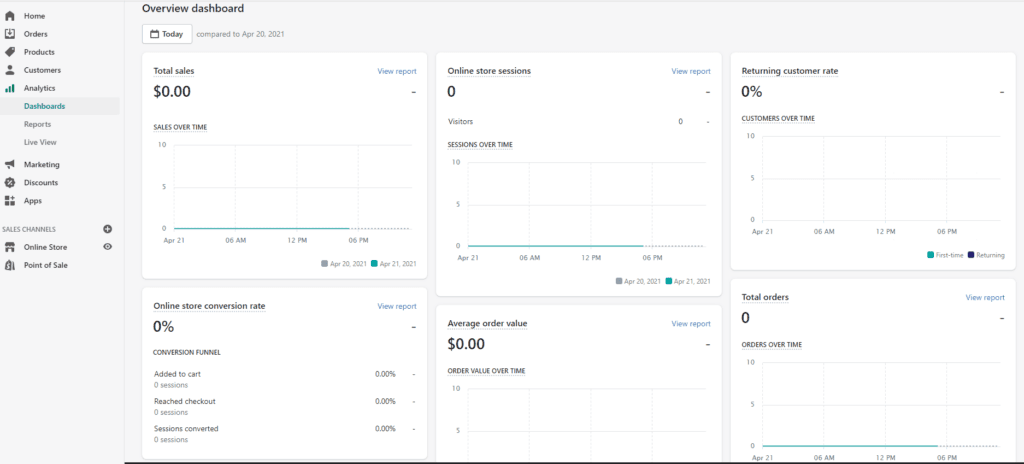
Shopify comes with many features that may make it a better choice for you than other options. For example, its robust reporting and analytics can make planning and tracking financials much easier:
If you also have a brick-and-mortar store, Shopify integrates effectively by offering a point of sale (POS) that lets you work seamlessly between your physical and virtual storefronts. You can even use the mobile POS when you’re on the move.
Another benefit of the eCommerce platform is, it’s incredibly easy to use. If you’re already selling on another website, switching to Shopify is a simple matter.
How to Build Your eCommerce Business With Shopify (In 5 Steps)
Now that we’ve covered the basic elements of Shopify, it’s time to get your store ready. For this article, we’ll assume that you’ve already created a business plan and know what you’ll be selling.
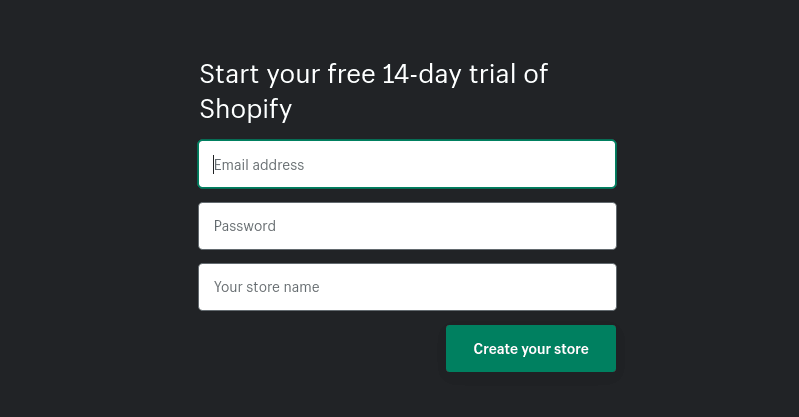
Step 1: Create a Shopify Account and Name Your Store
Shopify offers a 14-day free trial that you can use to get started. You’ll be prompted to enter the name of your store, which will become part of the store’s URL. It will be something along the lines of YourStore.MyShopify.com, although you can purchase a custom domain later:
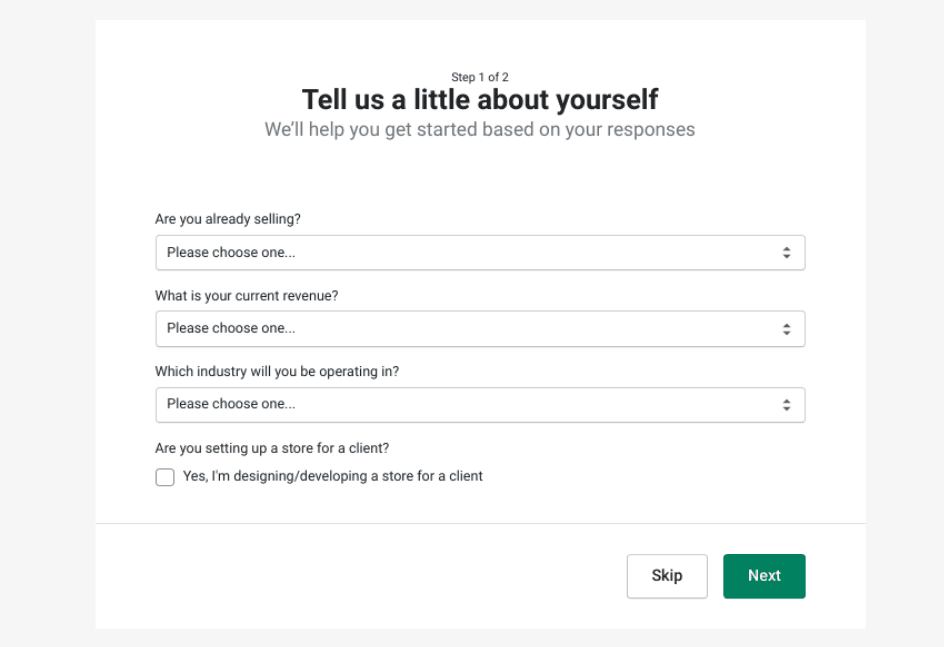
You’ll be able to answer a few questions about your business to help Shopify make suggestions. You’ll also need to enter a business address:
Once you’ve filled out the information, you can select Next. This will bring you to your shop’s dashboard.
Step 2: Add Products to Your Store
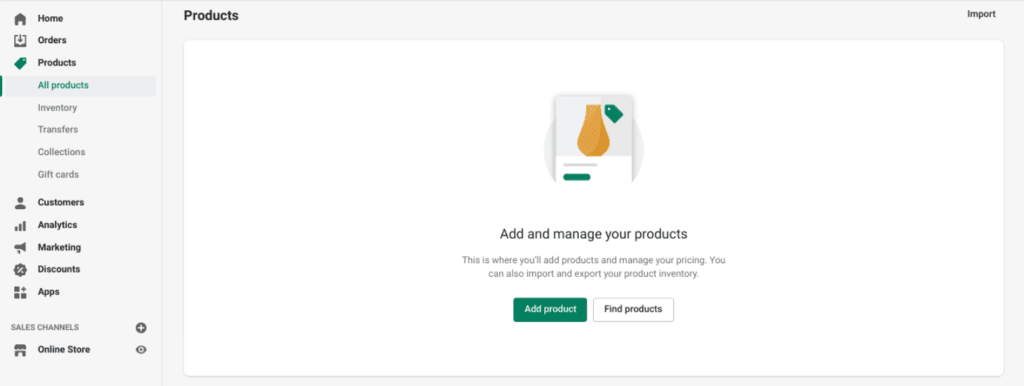
Next, you can begin adding items to your store by navigating to Products > Add product:
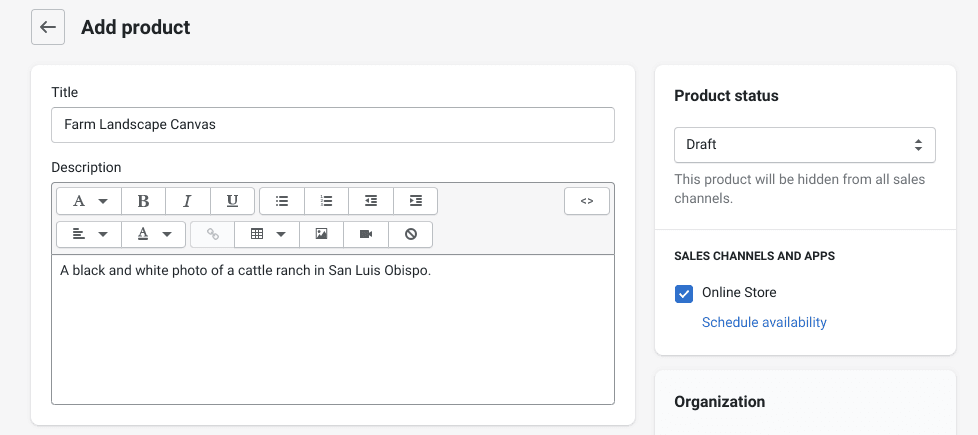
Here, you can add a product title and description. Try to briefly convey what the product is with your title, and use the description to flesh out additional details:
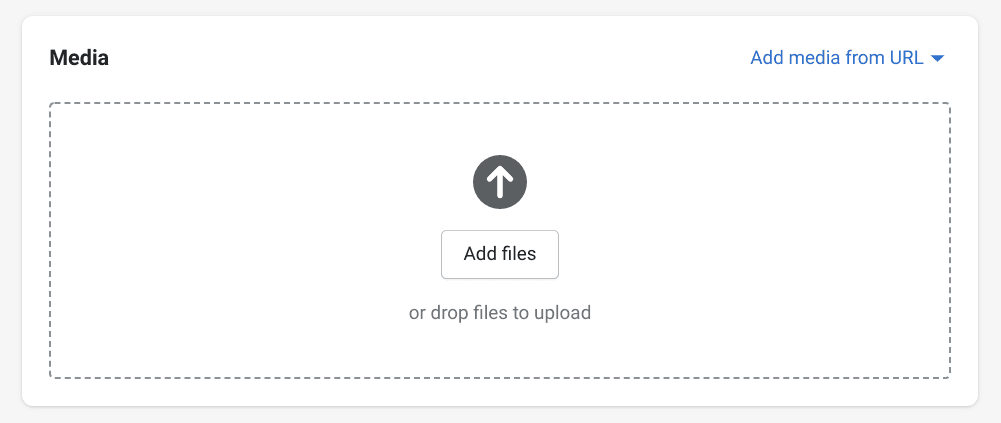
You can add images to your listing under the Media section. Click on the Add files button to locate a file on your device. There is also an option to add media from a URL:
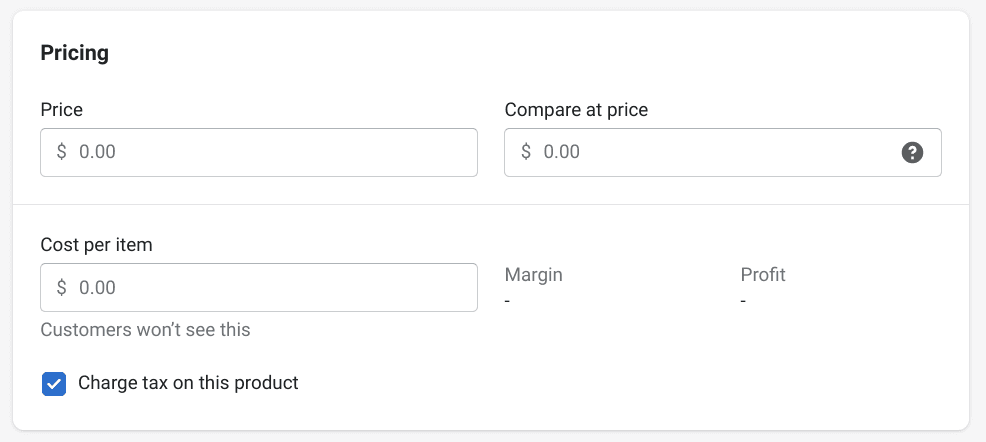
Next, you can add pricing information. If the product is discounted, you can enter the original price in the Compare at price box. Finally, Cost per item will help with tracking profit:
In the Inventory section, you can add an SKU or barcode if necessary. You can also type your current supply of an item into the Available field:
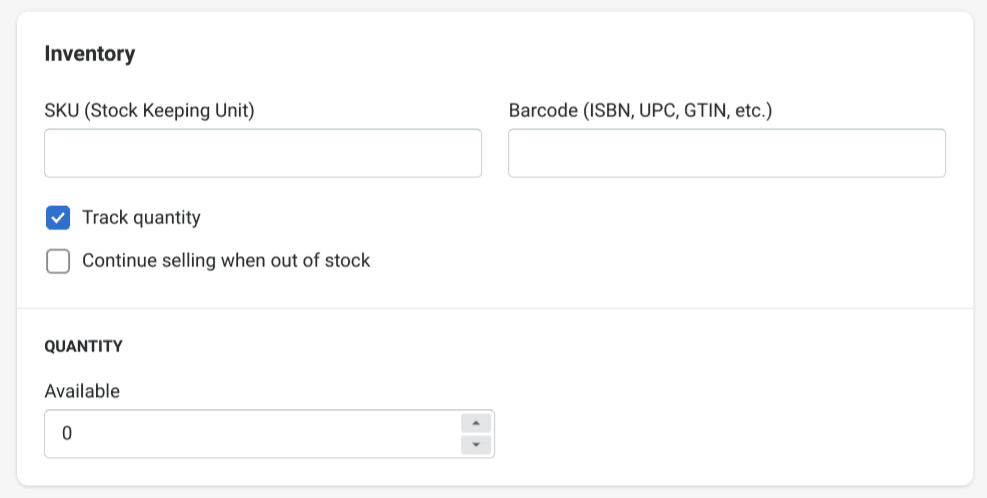
If you’re able to replenish your product quickly, you may want to select the Continue selling when out of stock option. Otherwise, the item will be marked as sold out when your inventory is depleted.
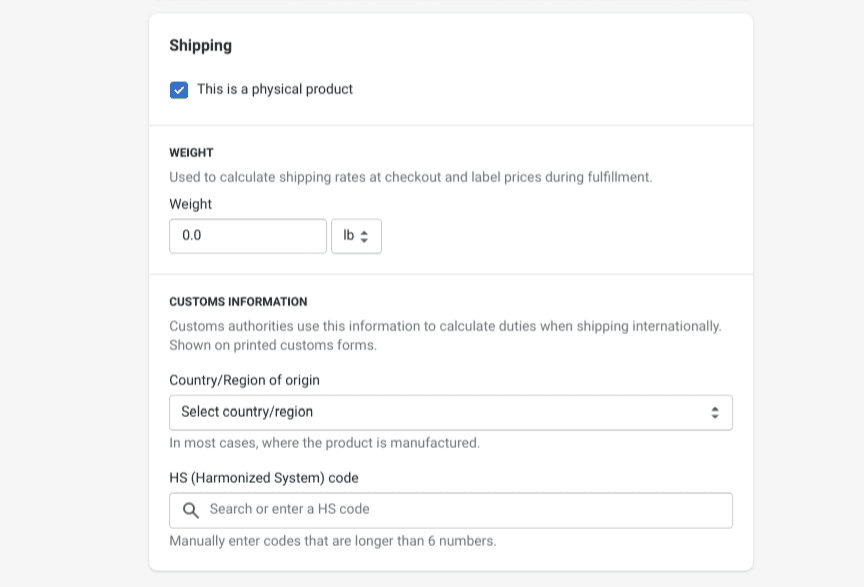
For physical items, you’ll need to configure shipping settings. You can input the weight of your product so that Shopify can calculate shipping costs. We also suggest filling out the Customs Information if you sell internationally:
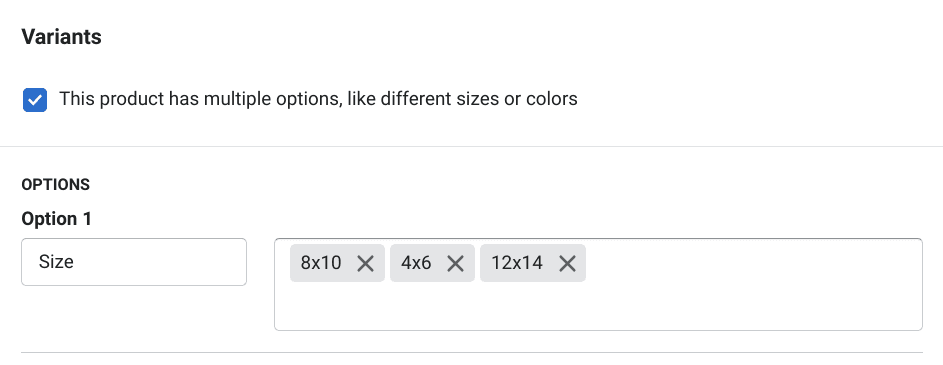
You can add variants of your products, such as different sizes or colors. To get started, select the box under Variants and type in the available options:
Remember to add media, pricing, inventory, and shipping information for each variant. When you’re done, click on the Save button. You can repeat this process for as many products as you want.
Step 3: Choose a Theme and Customize Your Shopify Store
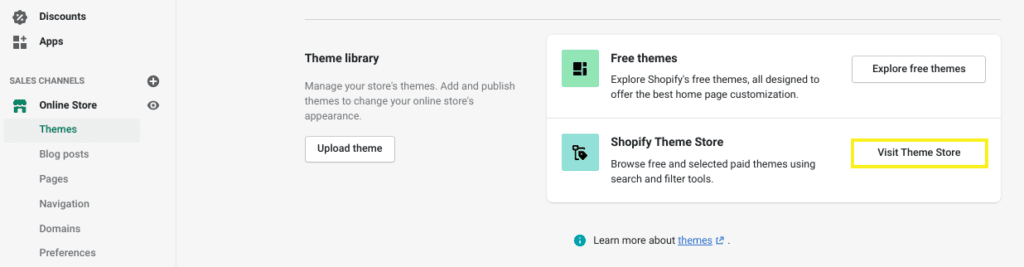
Shopify’s Theme Store offers many designs, most of which you can further customize. To get started, navigate to Online Stores > Themes, and then click on Visit Theme Store:
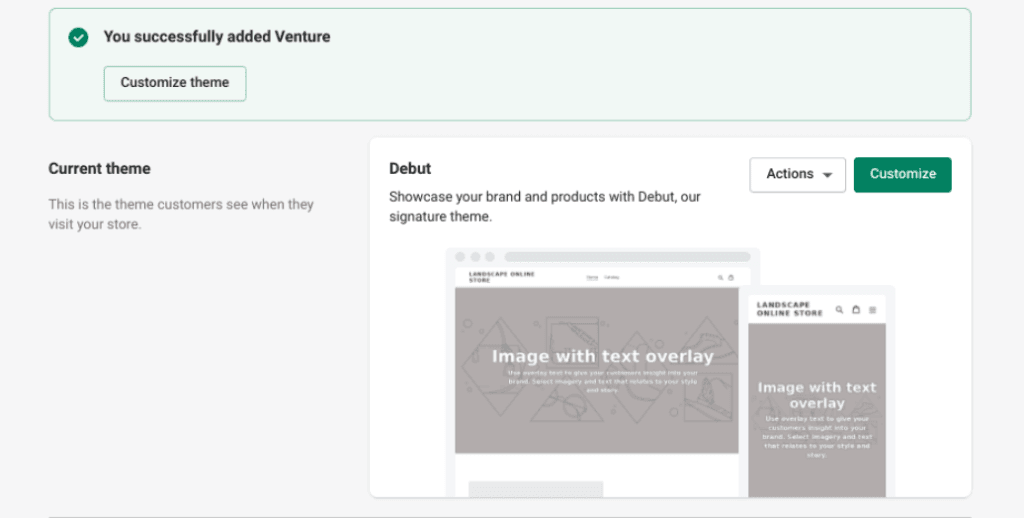
While you can always change it later, it’s important to take your time choosing a theme, perhaps previewing a couple before making your decision. When you find one you like, select the Add Theme button.
Once it’s installed, you’ll find yourself back on your dashboard where you can begin customizing. First, click on the Customize Theme button:
You can design your pages by dragging and dropping the various sections. Depending on your theme, you may be able to add slideshows, featured products, and even an email list signup.
You can also customize your shop’s navigation using the same drag-and-drop interface. You’ll likely want a menu in the header, but you can also place one in the footer. You may want to include a search bar, especially if you have a large offering.
You can change the theme’s fonts and colors to match your branding under the Theme Settings section:
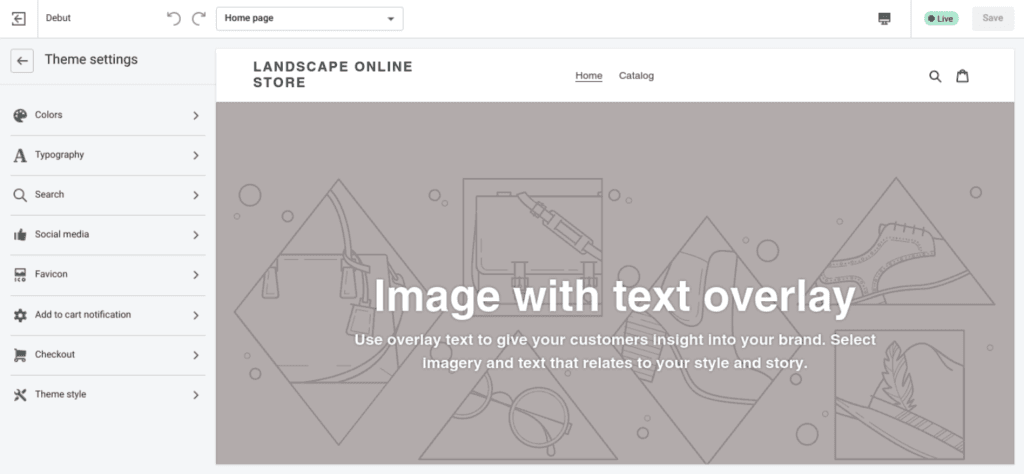
Also in Theme Settings is the option to customize your checkout page. Adding your logo and some text can help make the checkout process feel more cohesive. You might also consider exploring customer accounts and abandoned cart options.
Step 4: Configure Your Tax, Payment, and Shipping Options
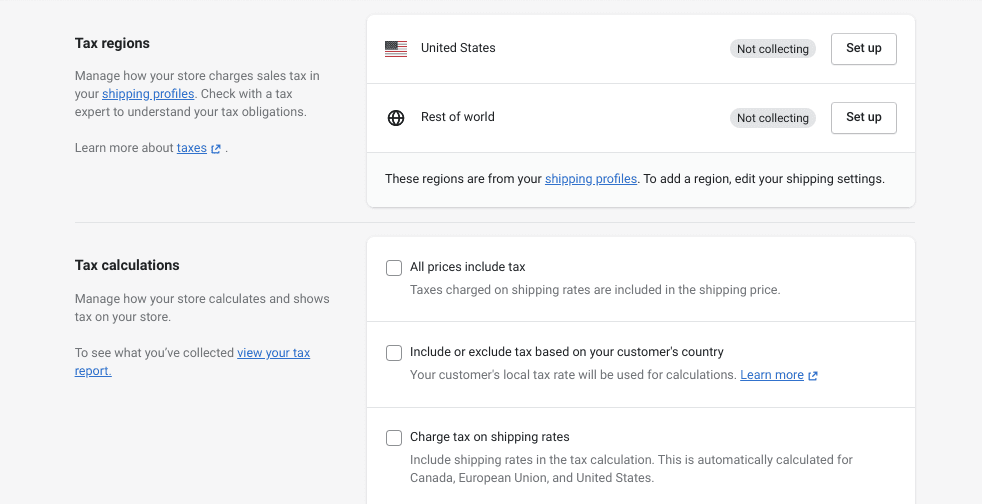
Shopify handles most tax calculations automatically, but you’ll still want to research your particular situation. To make changes to the default tax rates, you can navigate to Settings > Taxes:
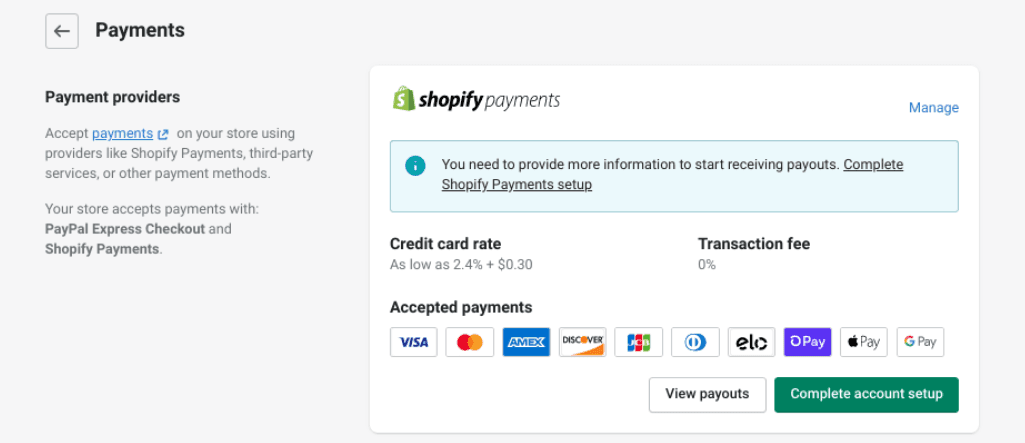
Choose payment gateways by navigating to Settings > Payments and selecting the options you’ll offer. You can also set up Shopify Payments, which enables you to quickly accept most forms of payment:
Finally, you can configure your shipping options. To start, browse to Settings > Shipping and delivery:

There are several approaches to shipping, and you may have to experiment to find what works best for you. You can even set up local pickup and delivery from this screen.
Step 5: Launch Your Store
While there is much more you can do, including setting up analytics and search engine optimization (SEO), your store is almost ready to launch. To take it live, you can navigate to Online Store > Preferences, scroll down to Password Protection, and click on the Pick a plan link:
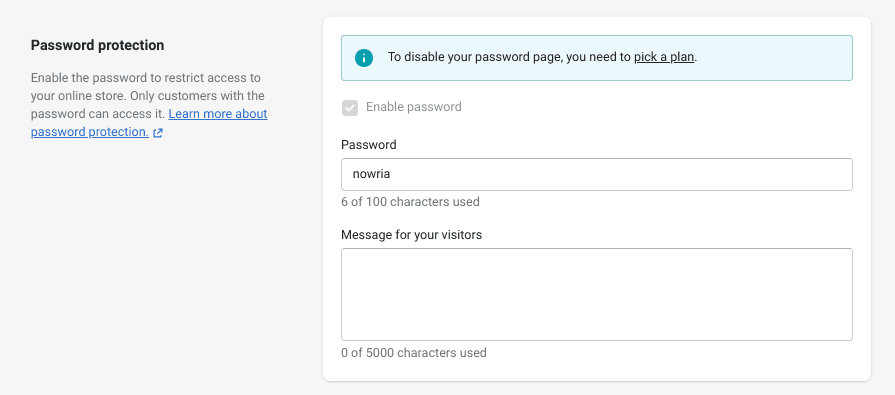
Once you’ve completed the checkout process, you’ll be able to remove the password page. Congratulations! You’re officially open for business.
Conclusion
Shopify is a powerful eCommerce platform, but it can be a bit overwhelming when you’re just getting started. Understanding its capabilities and how you can make them work for you can help you see where they fit into your particular business.
Let’s recap the five steps we shared for building your e-commerce store with Shopify:
- Create a Shopify account and name your store.
- Add your products to your shop.
- Choose a theme and customize your Shopify store.
- Configure your tax, payment, and shipping options.
- Launch your store.
Do you have any tips for using the Shopify platform? Share them with us in the comments section below!
If you liked this article, be sure to follow us on Facebook, Twitter, and LinkedIn! And don’t forget to subscribe in the box below.


Leave a Reply