Option #1 (Recommended)
- Login to your WordPress Dashboard.
- If an older version of PrettyLinks is installed, deactivate and delete it first.
- Download the latest version of PrettyLinks from your account page.
- Go to your WordPress Dashboard > Plugins > Add New > Upload page.
- Choose the .zip file you downloaded in Step 3 above and upload it.
- Activate the plugin.
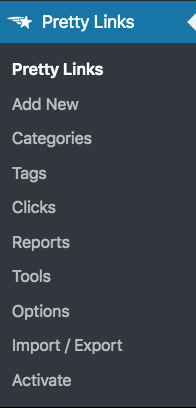
- If you’re a Pro user, enter your License Key (from your account page) on PrettyLinks > Activate page to enable additional features.
- And you’re ready to go!

Option #2 (Through WebHost’s File Manager):
- Login to your Web Hosting Control Panel.
- Find the File Manager (or similarly named) icon and open it.
- Browse to the location where your WordPress website files are stored.
- Find /yoursite.com/wp-content/plugins/
- Once in the /plugins/ directory click “Upload” file.
- Choose the pretty-link.zip file you downloaded from your account page.
- Upload the file and extract it using the File Manager’s unzip or extract commands.
- Login to your WordPress dashboard and click on the Plugins menu.
- PrettyLinks should now show up in the menu.
- Click Activate, and you’re done!

Option #3 (Through a FTP Client):
NOTE: This tutorial assumes you know how to connect to your hosting server using an FTP client like FileZilla, FireFTP, CoreFTP, DreamWeaver, or something similar.
- Download the pretty-link.zip from your account page.
- Connect your FTP client to your hosting server.
- Browse to /yoursite.com/wp-content/plugins/
- Copy over the entire /pretty-link/ folder you extracted in Step 1.
- Login to your WordPress dashboard and click on the Plugins menu.
- PrettyLinks should now show up in the menu.
- Click Activate, and you’re done!
