Visão geral:
- Adicionar categoria
- Editar categoria
- Atribuir categorias
- Adicionar etiqueta
- Editar etiqueta
- Atribuir etiquetas
Categorias:
Adicionar categoria
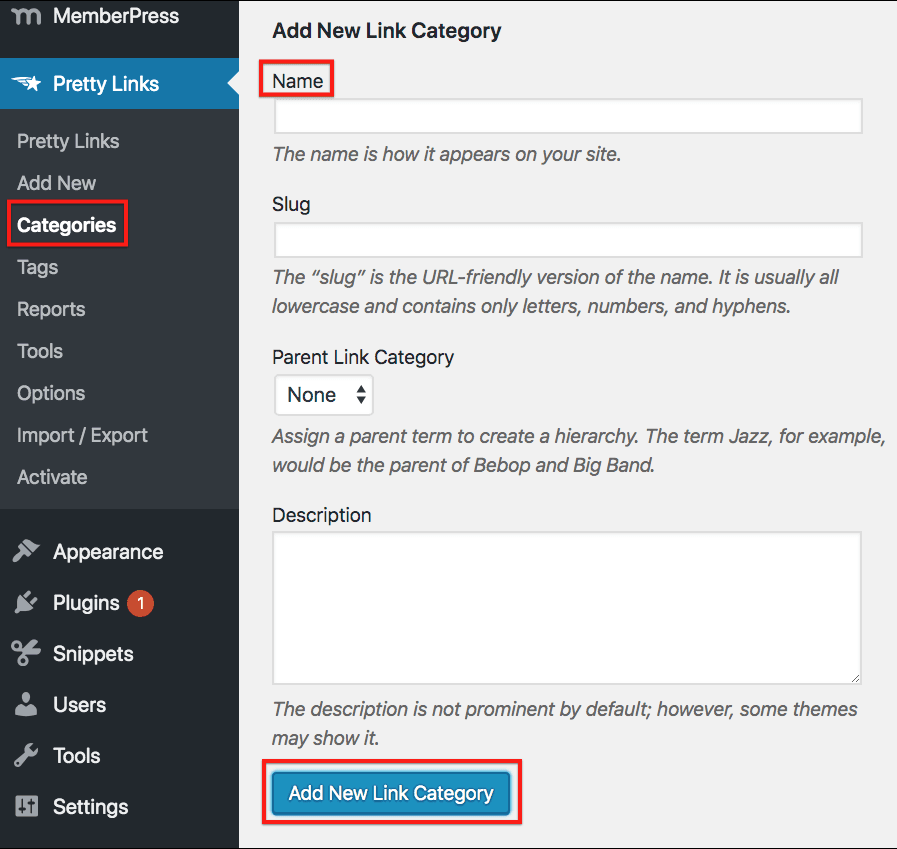
Há duas maneiras de adicionar uma categoria. A primeira maneira é acessar a guia PrettyLinks -> Categoria em seu painel do WordPress. Em seguida, você precisará preencher o formulário, nomeando a categoria e preenchendo qualquer outra informação que desejar. Se o slug for deixado em branco, ele será criado automaticamente da mesma forma que o nome. Quando terminar, clique no botão "Add New Link Category" (Adicionar nova categoria de link) para criar a categoria.
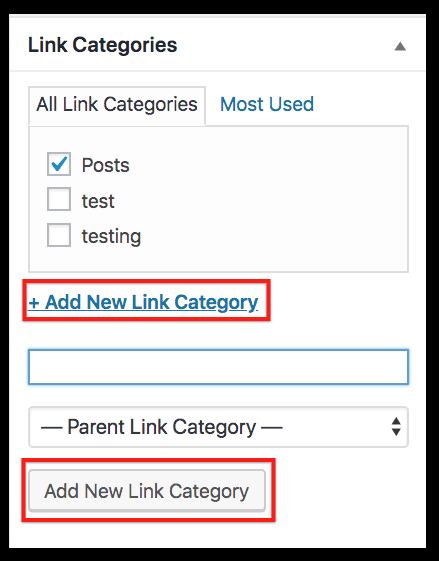
A segunda maneira de adicionar uma categoria é acessar PrettyLinks -> guia PrettyLinks em seu painel do WordPress. A partir daí, você pode selecionar qualquer link já criado. No canto inferior direito, você pode clicar no link "Add New Link Category" (Adicionar nova categoria de link) para exibir um menu suspenso no qual você pode nomear a nova categoria. Quando terminar, clique no botão "Add New Link Category" (Adicionar nova categoria de link) para salvar a nova categoria e adicionar o link à categoria.
Editar categoria
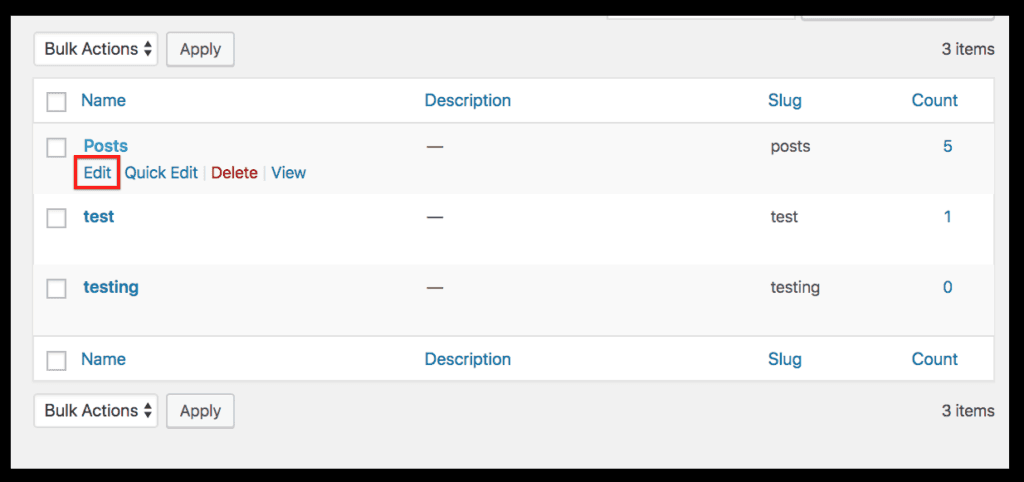
Para editar uma categoria, você precisará ir para a guia PrettyLinks -> Categories (Categorias) no painel do WordPress. Em seguida, passe o mouse sobre a categoria que deseja editar e clique em Edit (Editar).
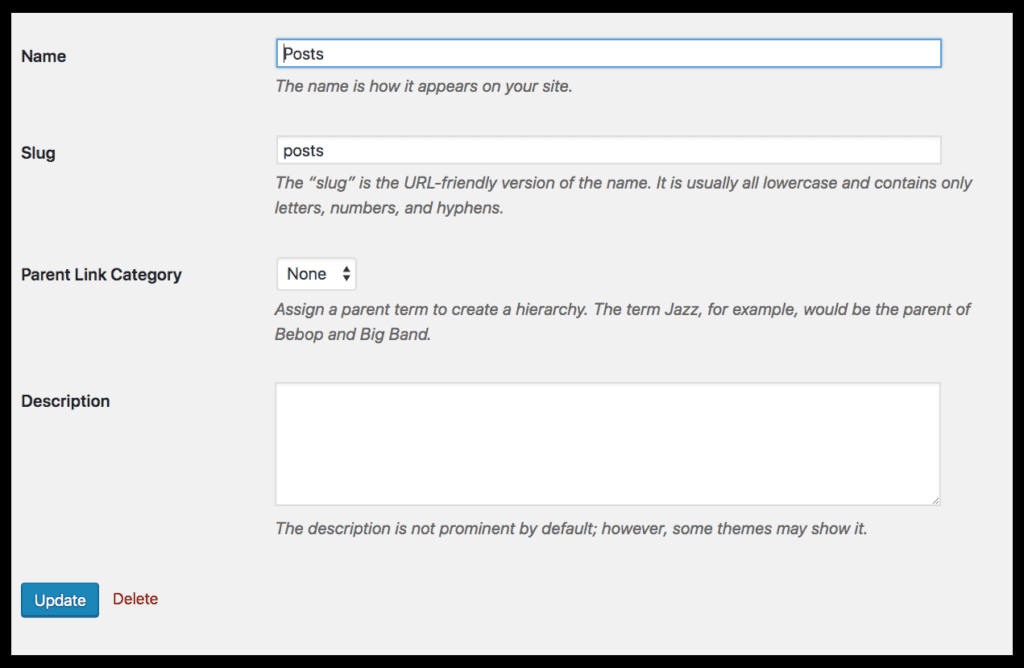
Você será levado a uma página em que poderá alterar as informações sobre a categoria, incluindo o nome, o slug, a categoria do link pai e a descrição. Clique em atualizar quando terminar de editar para salvar as alterações feitas.
Atribuir categorias
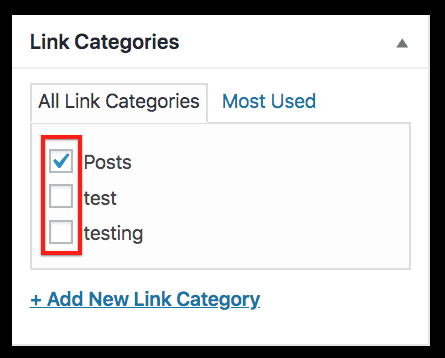
Para atribuir categorias aos seus links, vá para PrettyLinks -> guia PrettyLinks no painel do WordPress. Clique no link que você gostaria de adicionar a diferentes categorias. No canto inferior direito, você verá a lista de categorias já criadas. Marque a caixa ao lado de cada categoria da qual você gostaria que o link fizesse parte e clique em Update (Atualizar) para salvar as alterações e adicionar o link às categorias selecionadas.
Tags:
Adicionar etiqueta
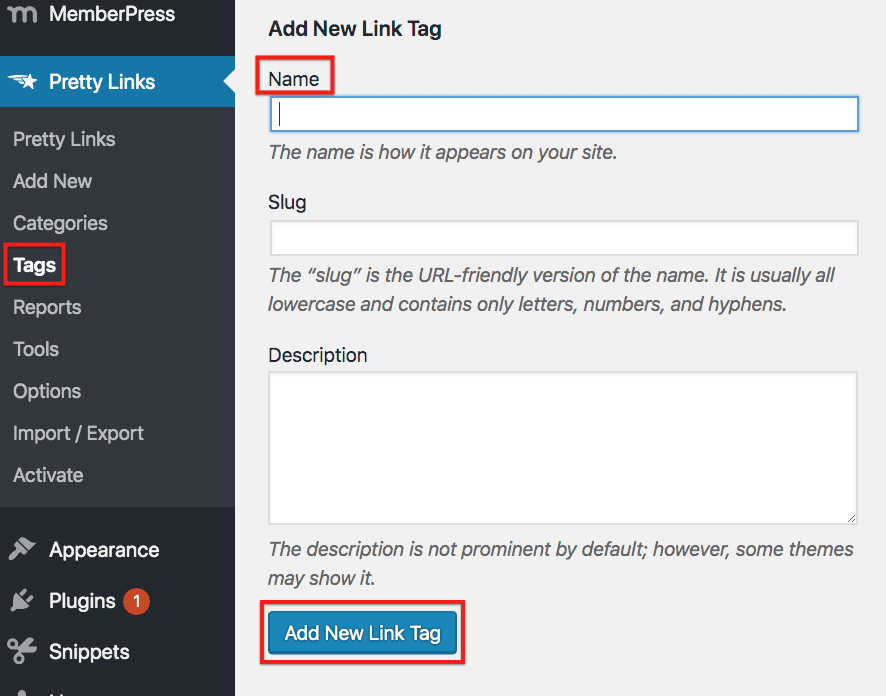
Para adicionar uma nova tag de link, vá para PrettyLinks -> guia Tags em seu painel do WordPress. Em seguida, você precisará preencher o formulário, nomeando a tag e preenchendo qualquer outra informação que desejar. Se o slug for deixado em branco, ele será criado automaticamente da mesma forma que o nome. Quando terminar, clique no botão "Add New Link Tag" para criar a tag.
Editar etiqueta
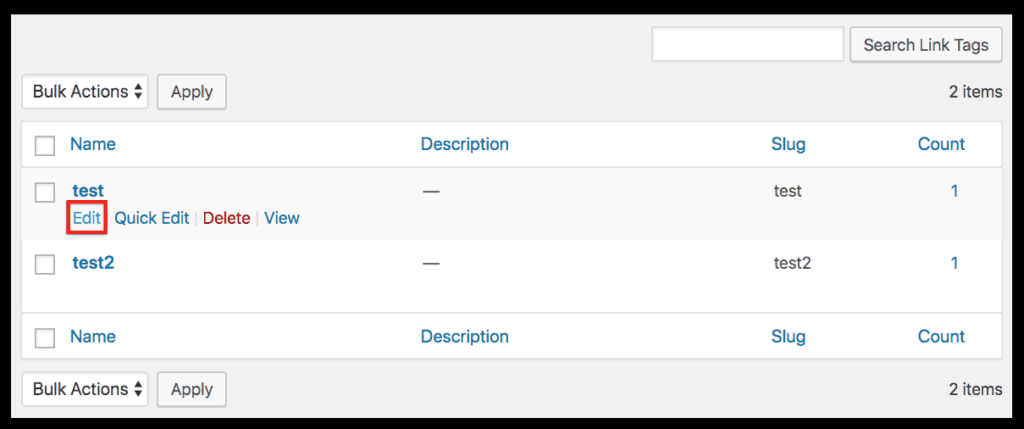
Para editar uma tag, você precisará acessar a guia PrettyLinks -> Tags no painel do WordPress. Em seguida, passe o mouse sobre a tag que deseja editar e clique em Edit (Editar).
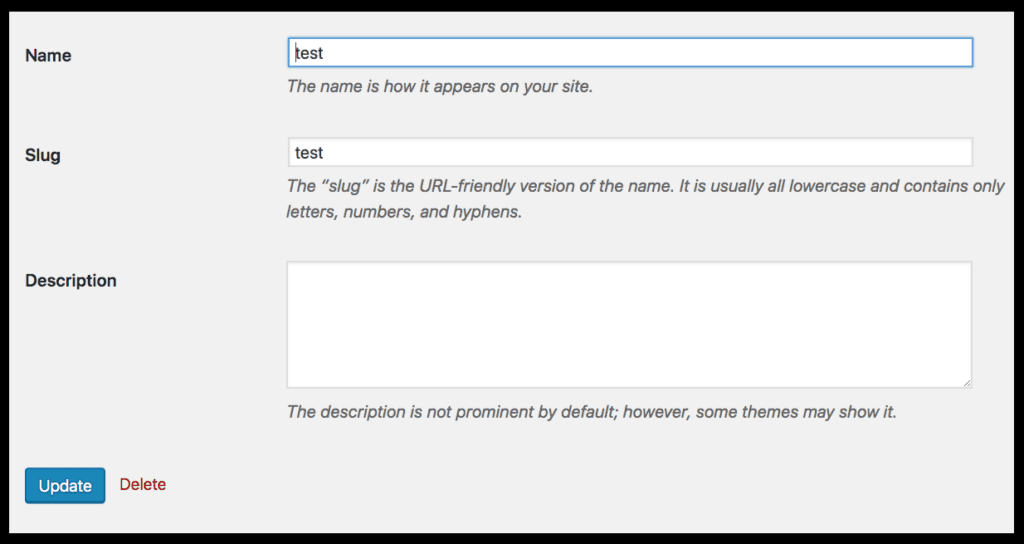
Você será levado a uma página em que poderá alterar as informações sobre a tag, incluindo o nome, o slug e a descrição. Clique em atualizar quando terminar de editar para salvar as alterações feitas.
Atribuir etiquetas
Para atribuir categorias aos seus links, vá para PrettyLinks -> guia PrettyLinks no painel do WordPress. No lado direito, há um contêiner chamado Link Tags. Você pode digitar as tags que gostaria de atribuir ao link (separando-as por vírgula se adicionar mais de uma) e clicar em "Add" (Adicionar) ou clicar no link "Choose from the most used link tags" (Escolha entre as tags de link mais usadas) e selecionar diferentes tags. Clique no botão Update (Atualizar) quando terminar de atribuir as diferentes tags.

Parabéns! Você acabou de aprender a adicionar, editar e atribuir categorias e tags ao seu PrettyLinks!